Показаны сообщения с ярлыком A Pair & A Spare. Показать все сообщения

воскресенье, 16 июня 2019 г.

Hand on heart, you don’t have to sell a kidney to have a great, fancy(ish) kitchen. I promise you!

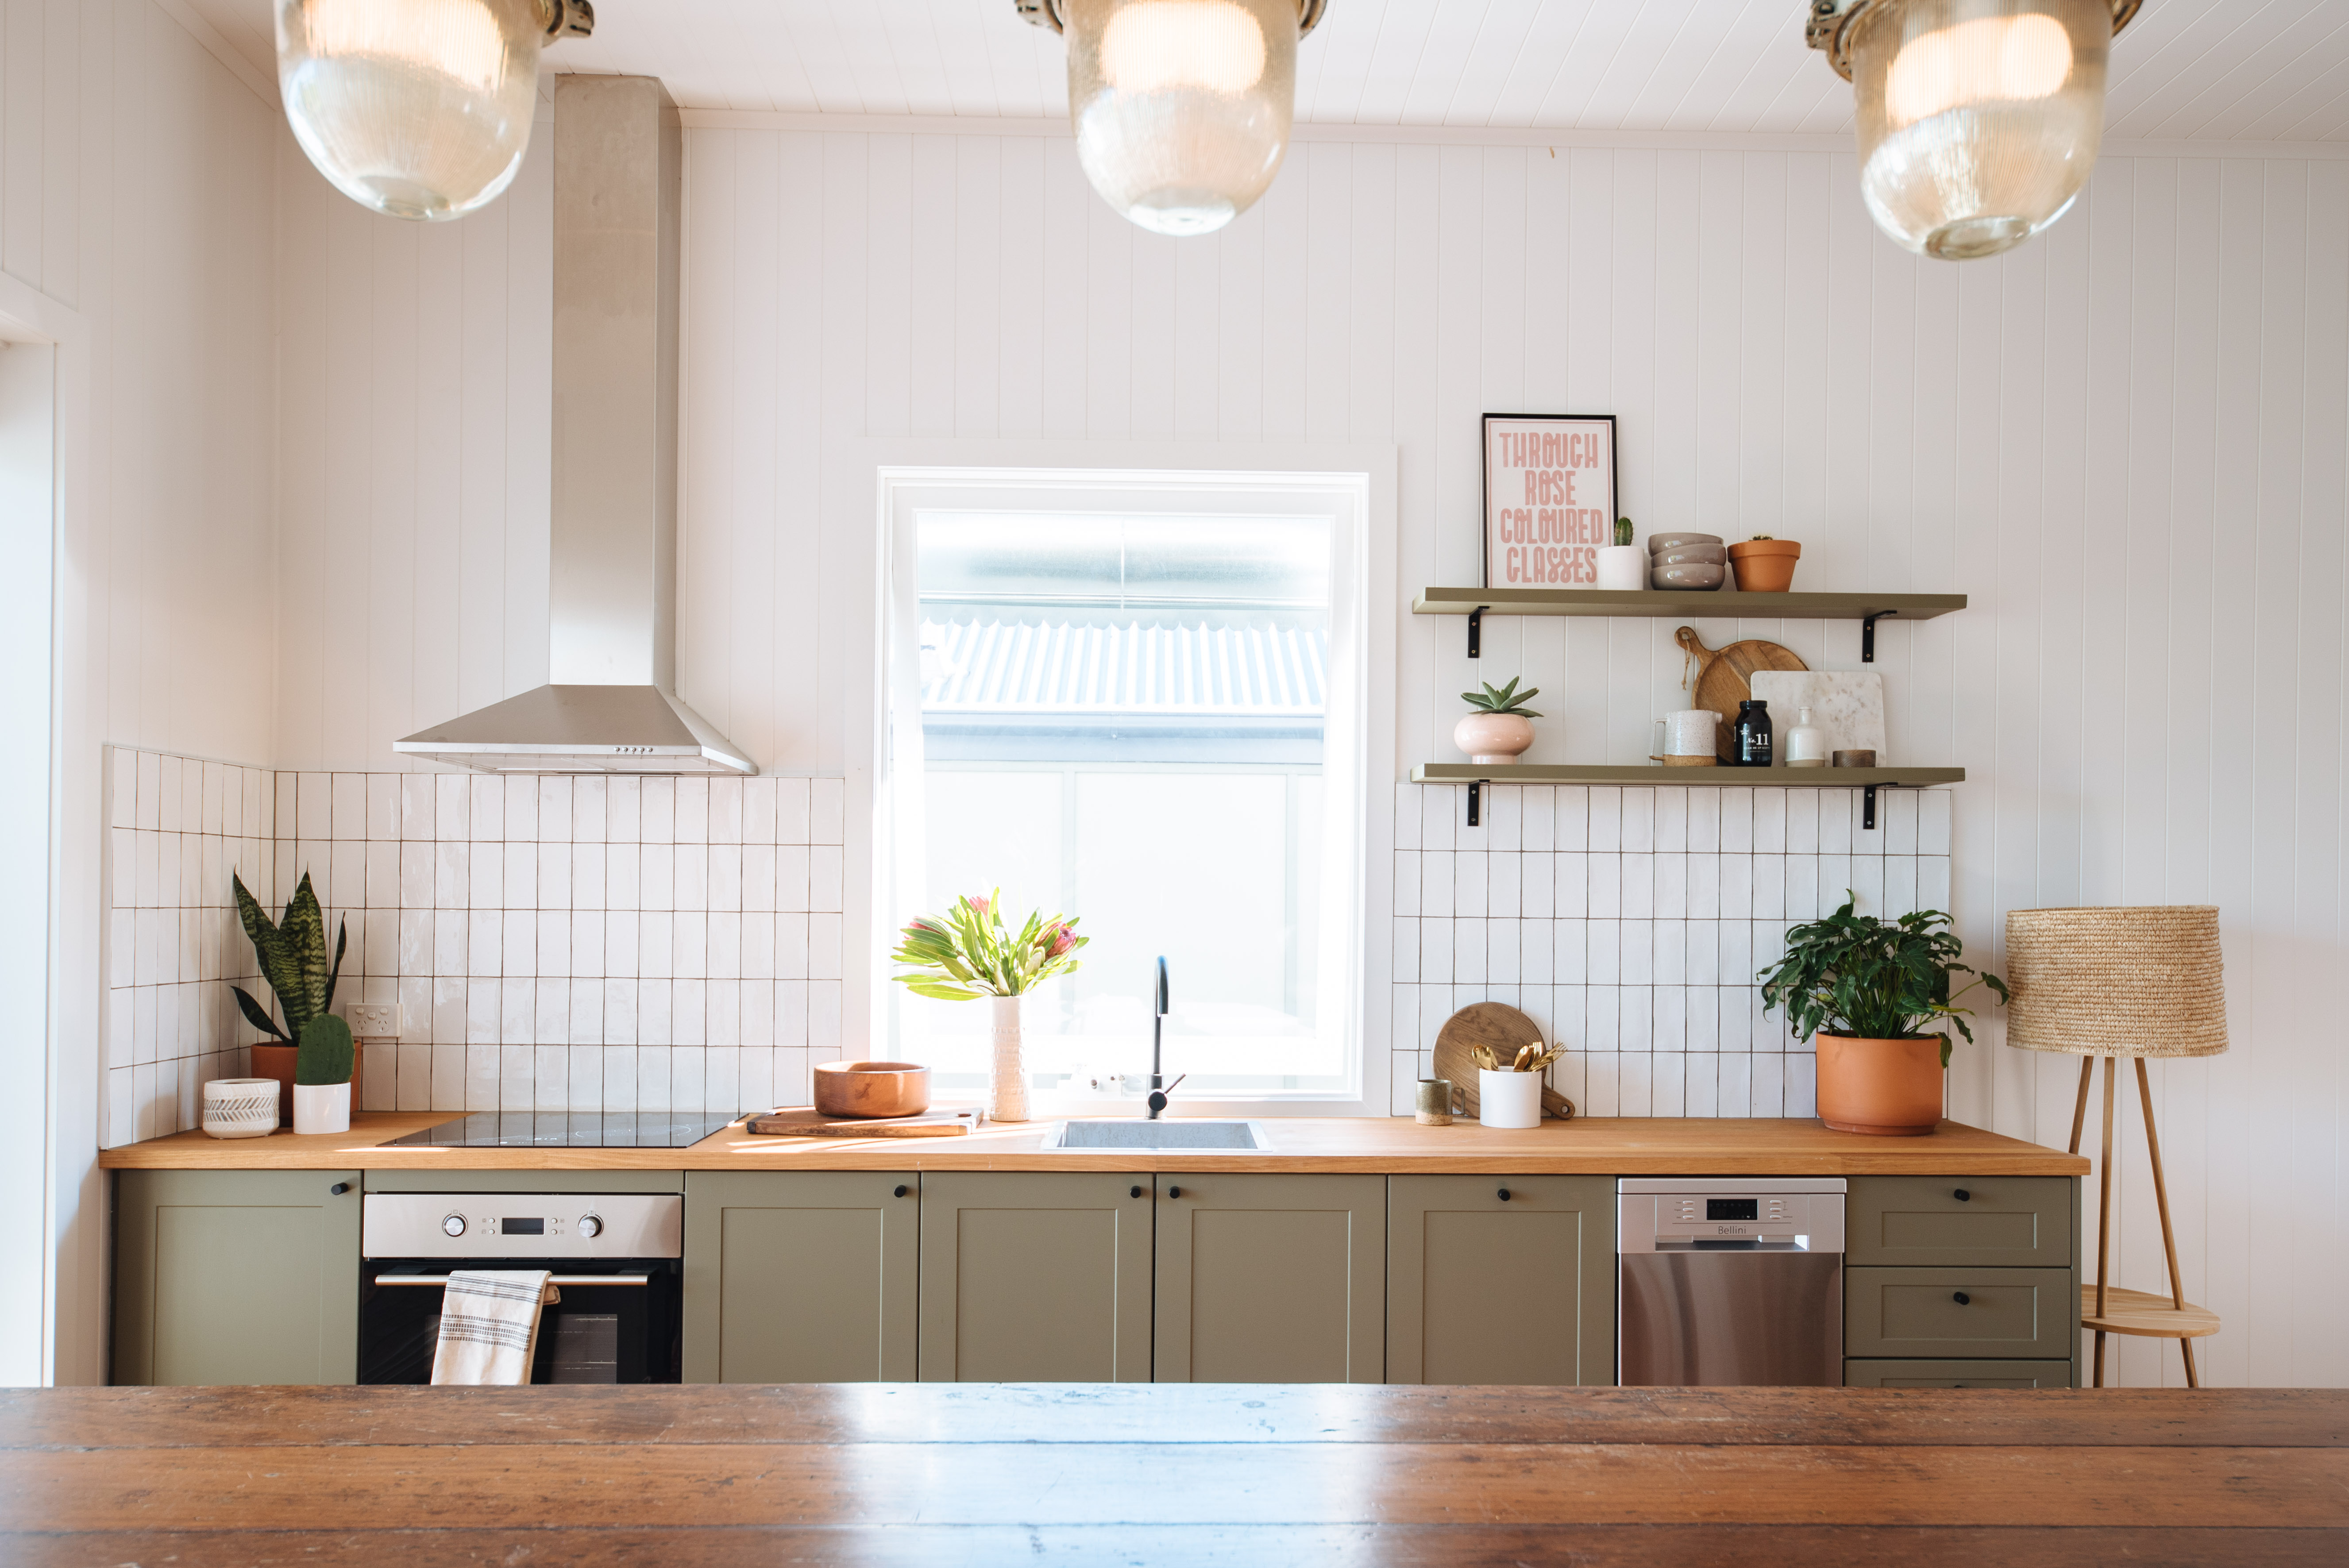
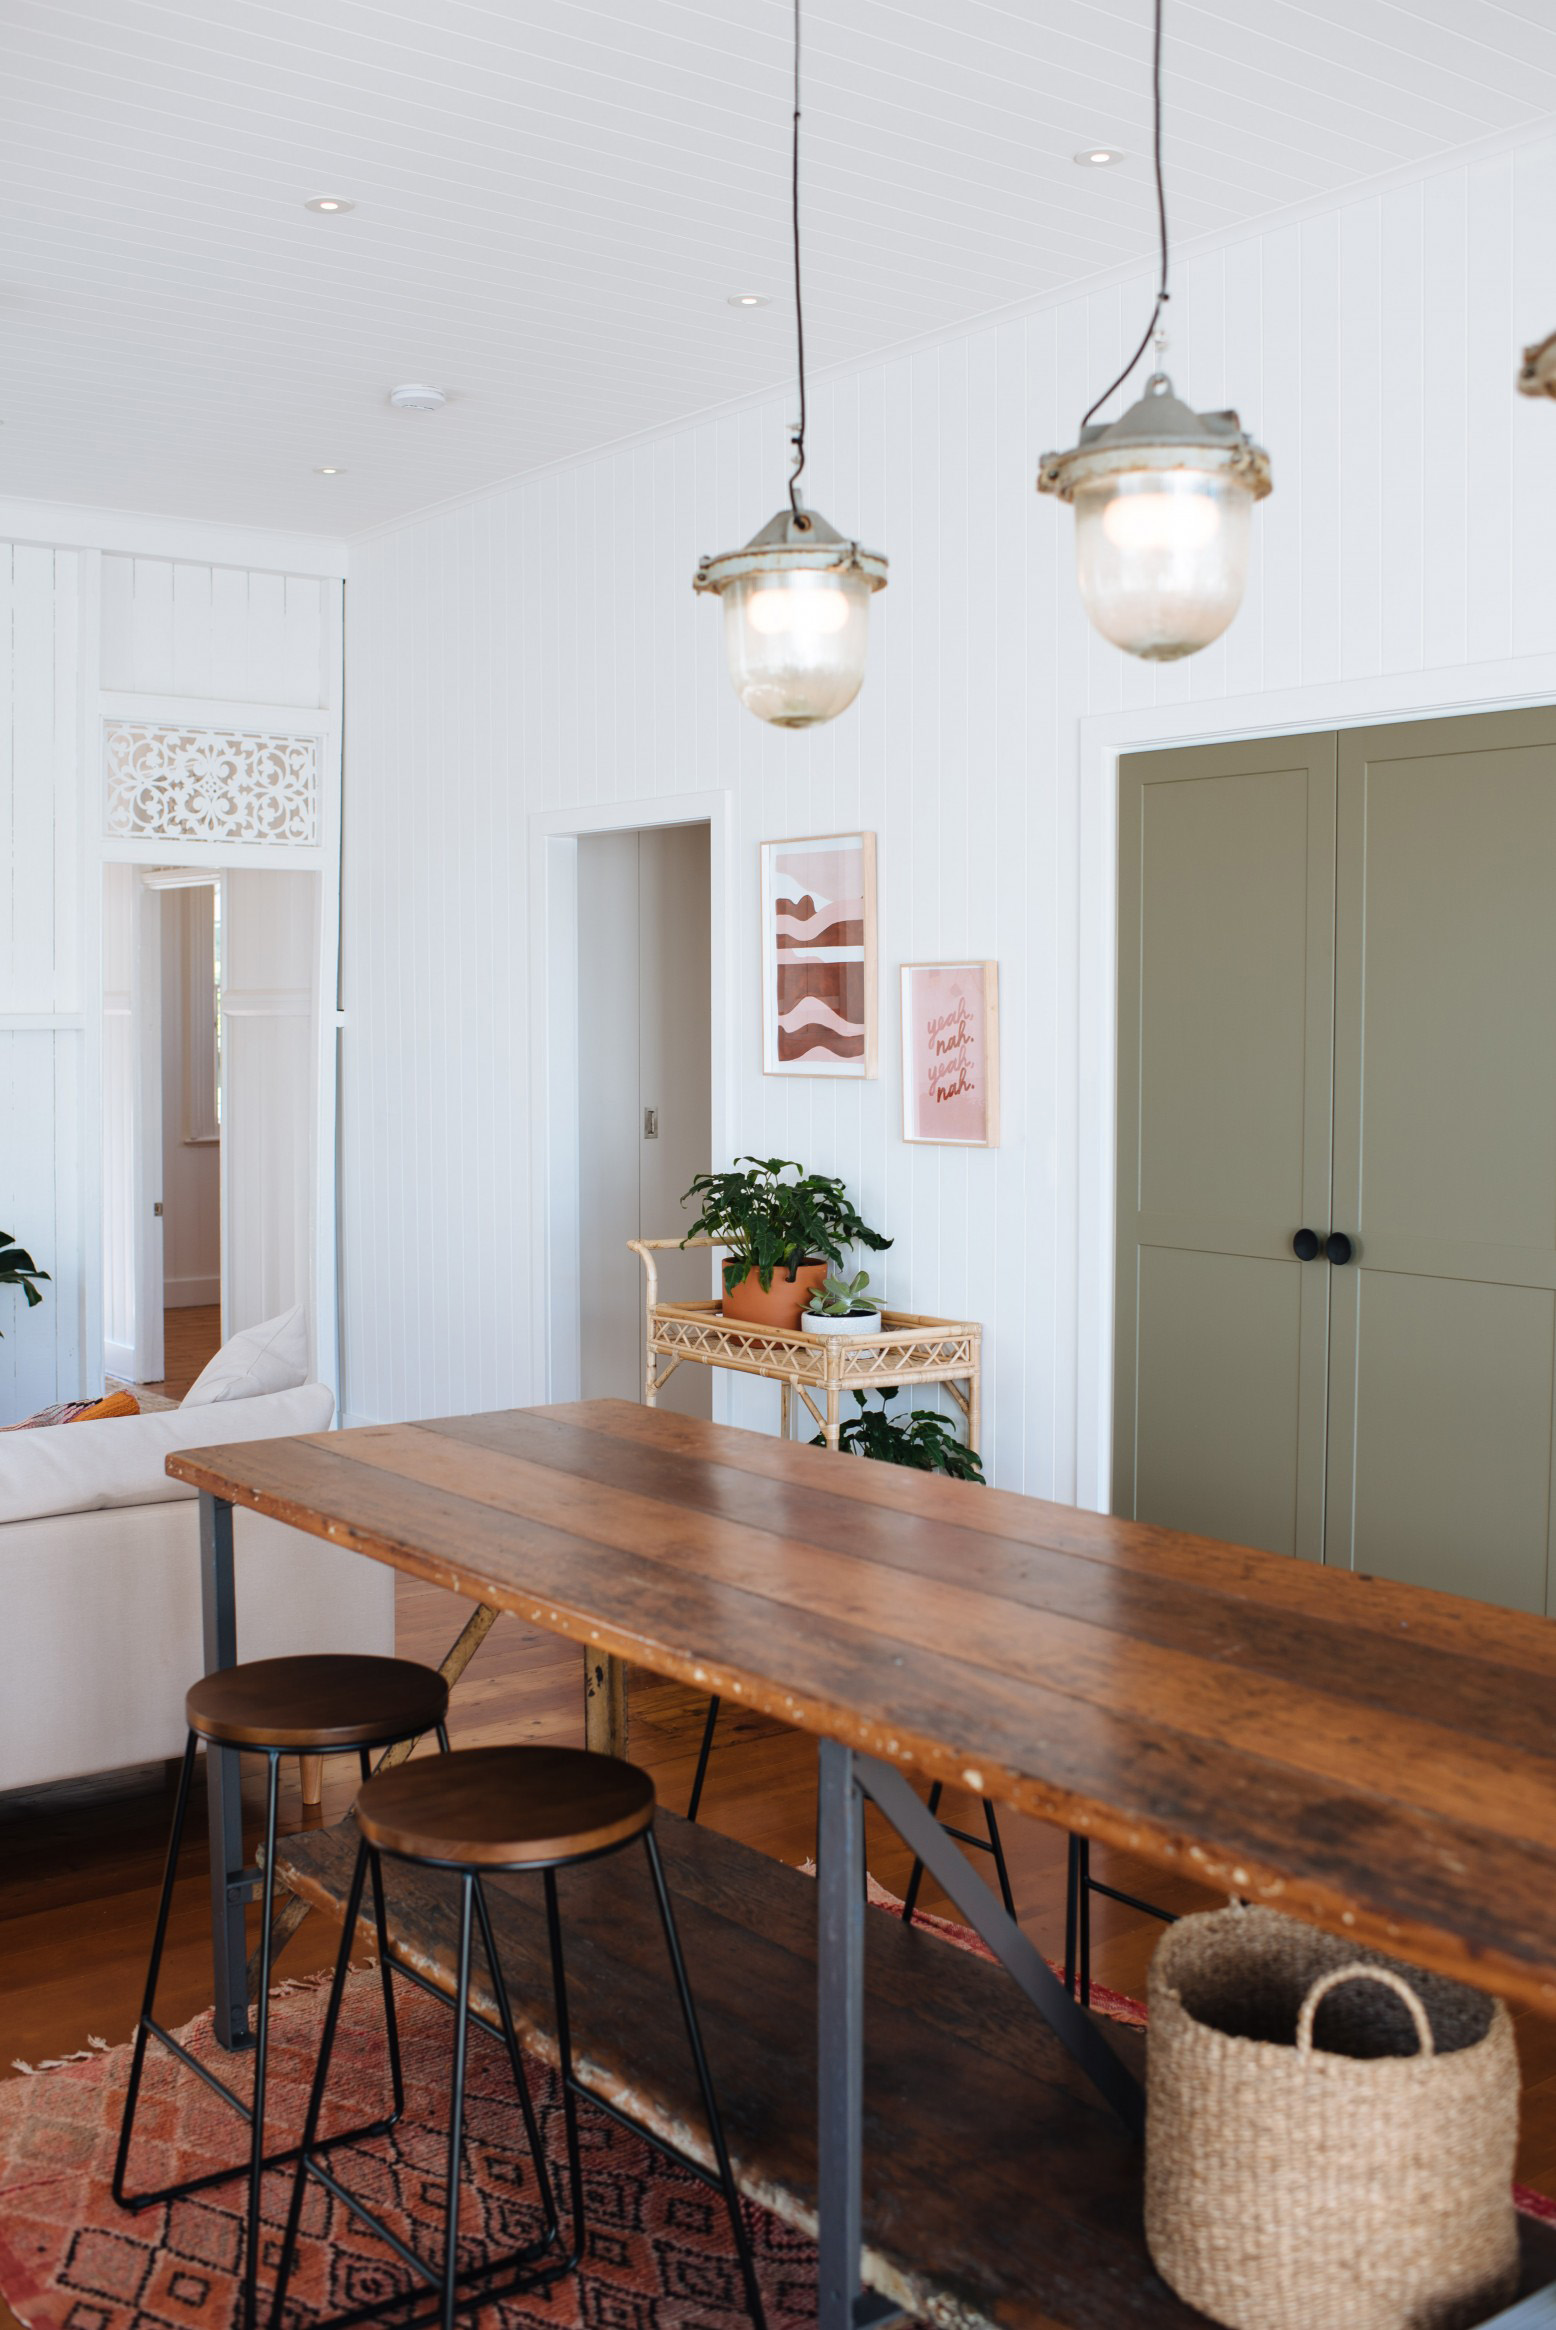
One of the things we set out to do with our renovation was build something that we loved, but on a budget. And let’s be honest, it wasn’t that we wanted to stick to a budget, but we really didn’t have much of a choice. But we still wanted it to be great! So we set out about creating a few great hacks that make the house feel expensive when it isn’t, well not really.

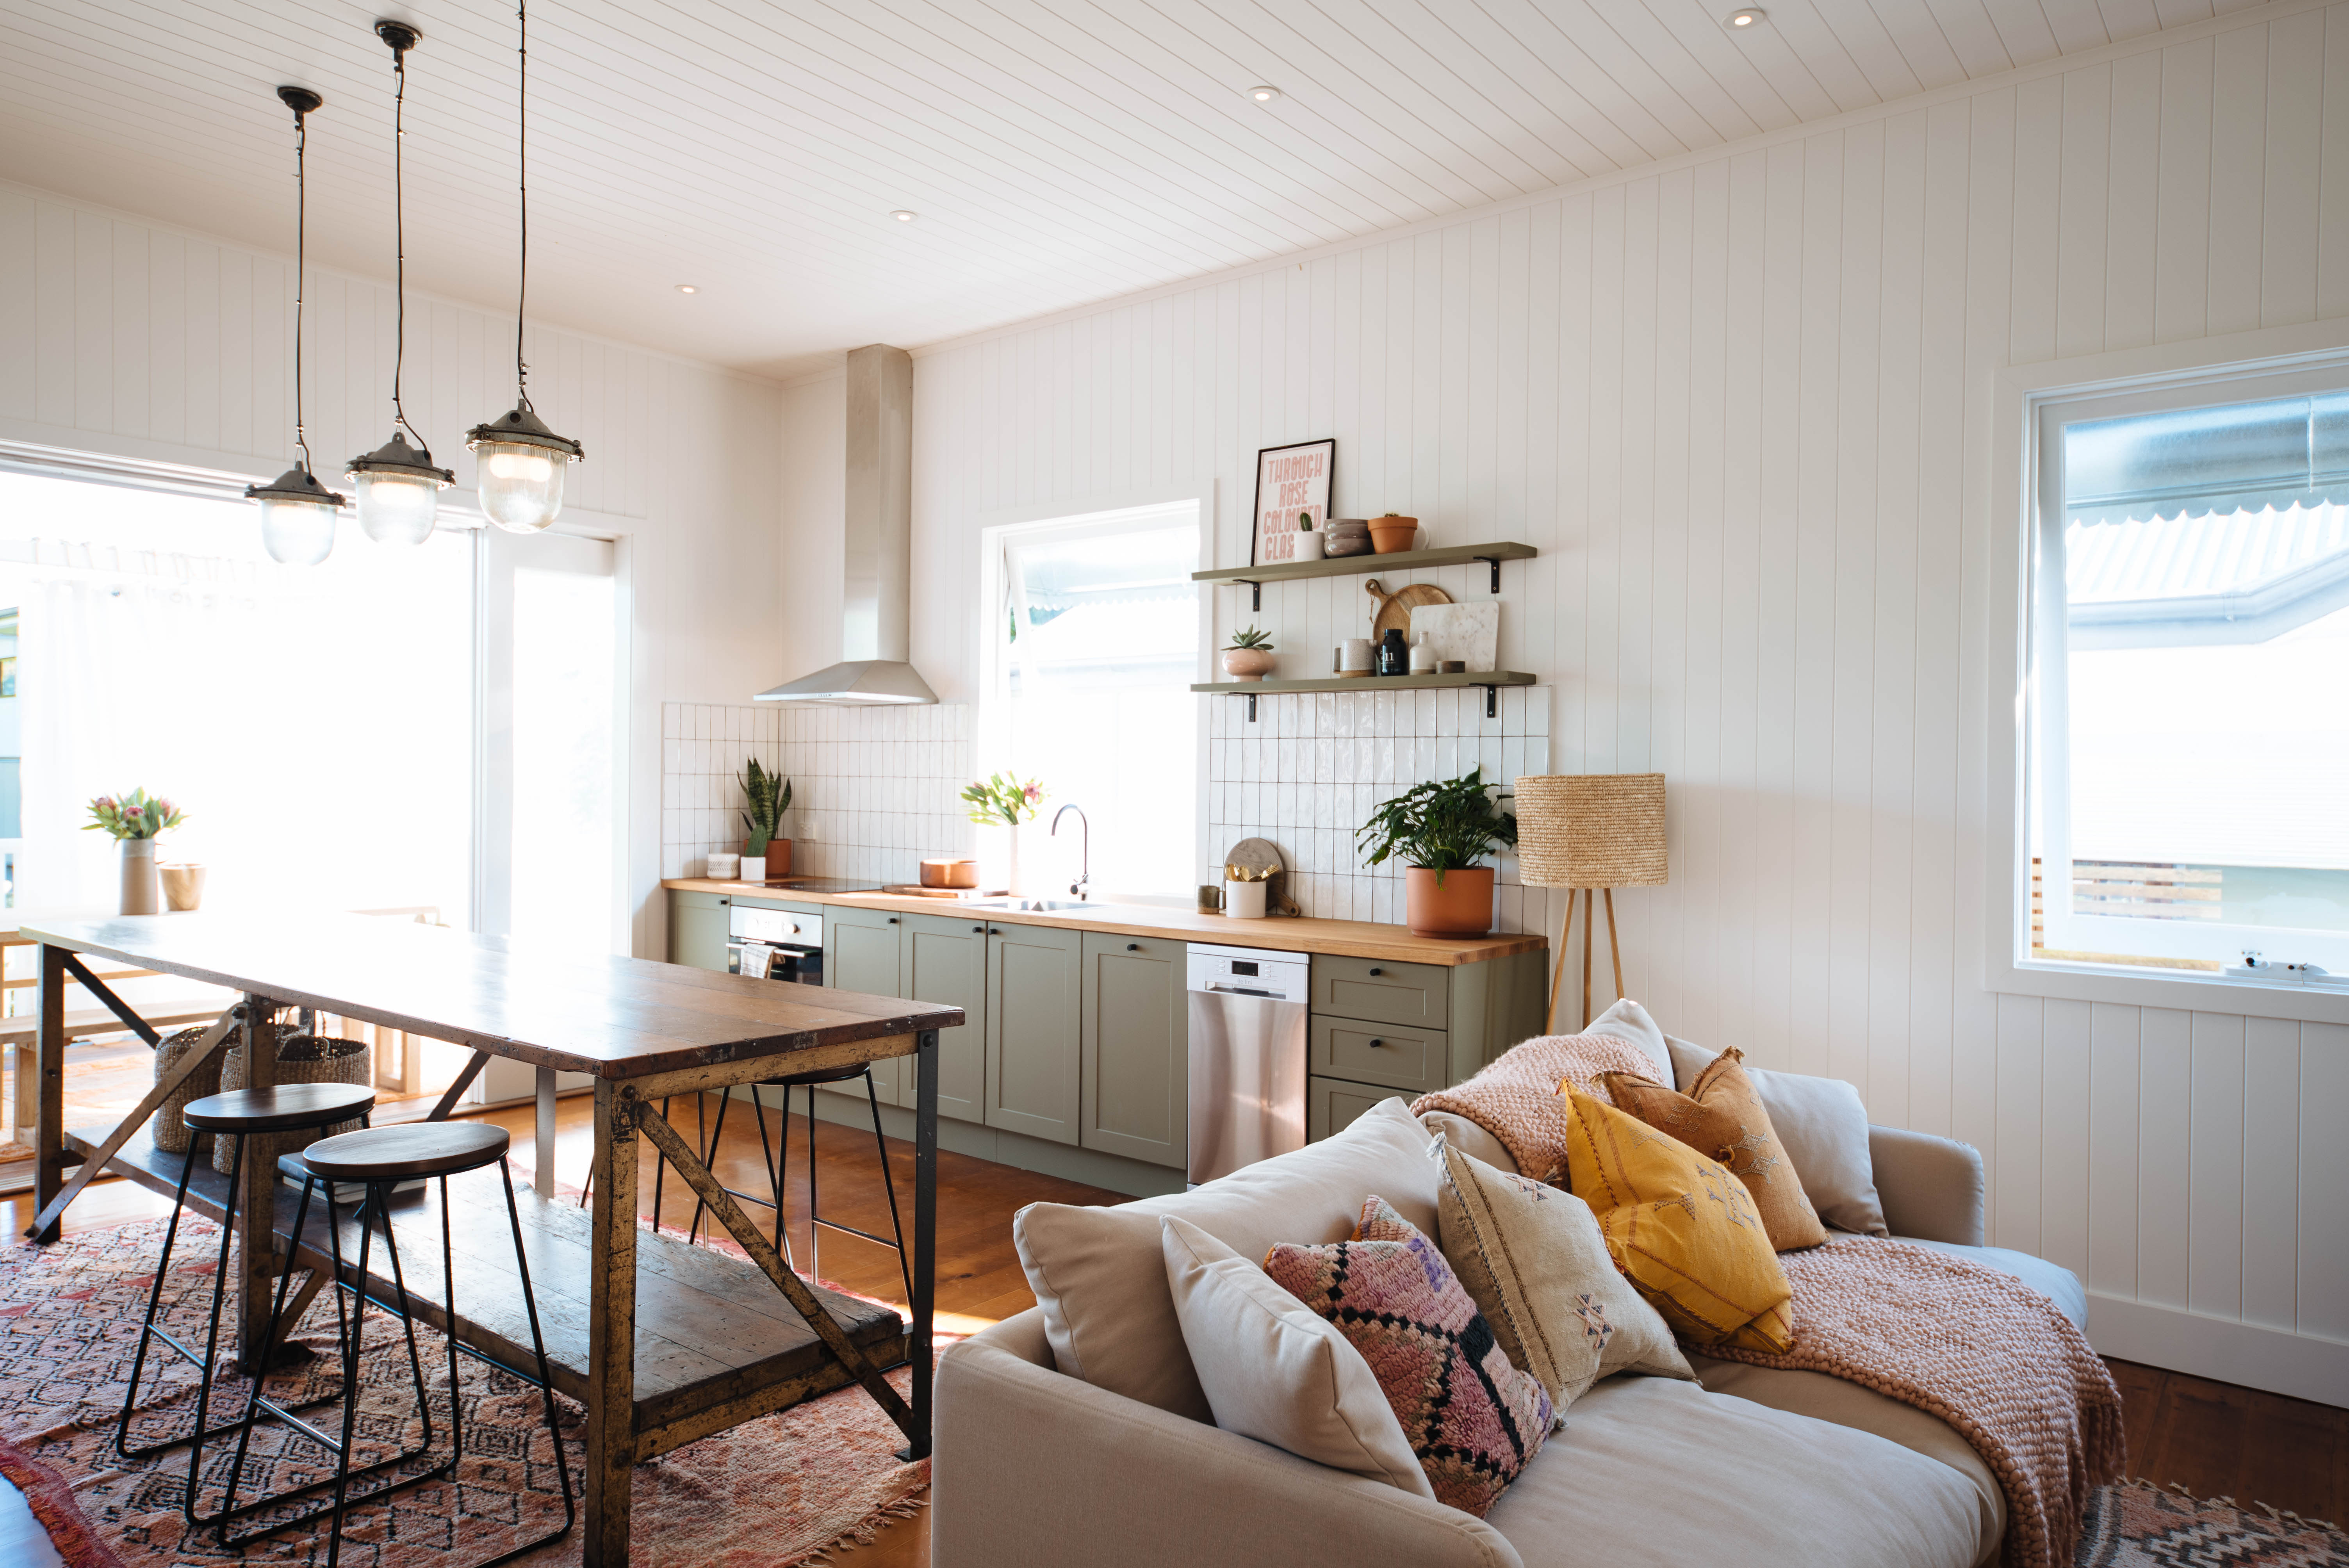
The kitchen is one place hat a few tweaks and updates can make a huge difference. Obviously not renovating at all would have been the cheapest option, but you remember that kitchen, right? Awful! How’s Ben supposed to craft all his delights with no where to store his expansive knife collection?! Needless to say, the kitchen had to go. Here’s how we made it us, and a little bit fancy, but on a budget.

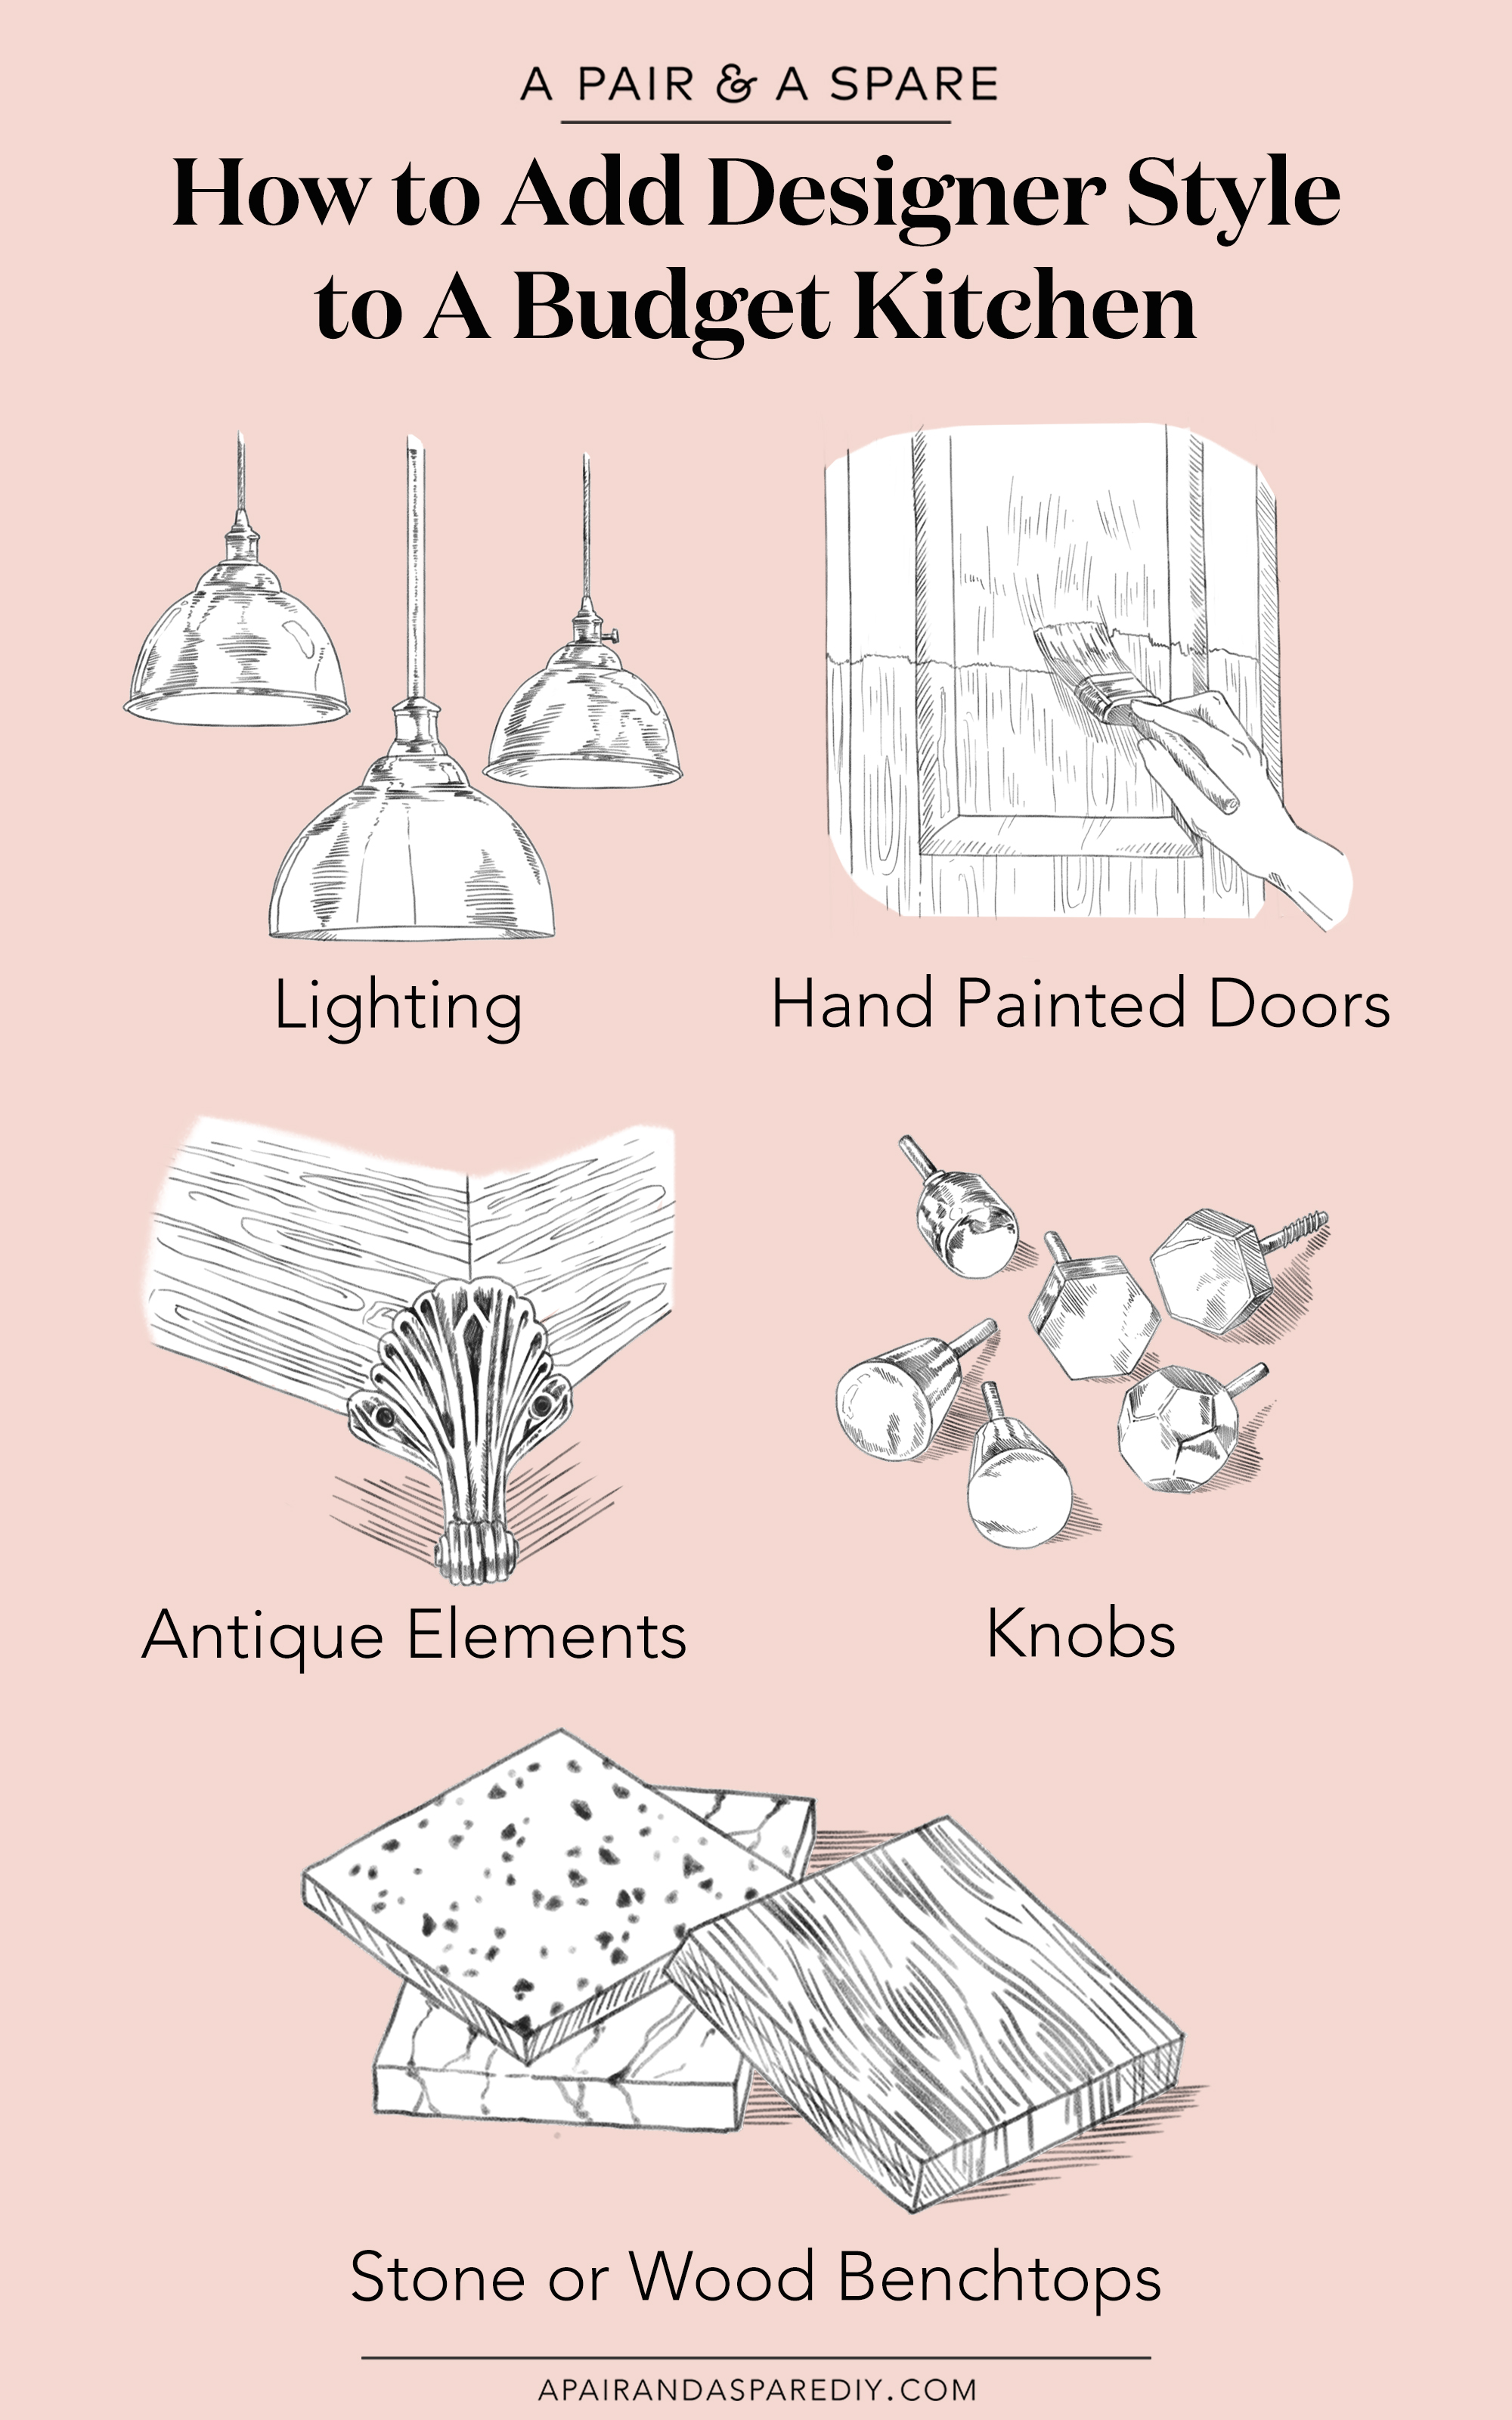
Skip the Cheap Bench top

This doesn’t mean you have to blow the budget completely, I mean, a marble bench top is seriously expensive and often not worth it. But it’s worth understanding what will wear well and look great, and what won’t. My pick? A wooden bench top that ages well. Laminate is obviously the cheapest option, but choose wisely for a matte finish that doesn’t scream basic. A little tip from Ben to you? Do a laminate bench top with a wooden edge. The best of both worlds and has a great feel.

Add Unexpected Lighting

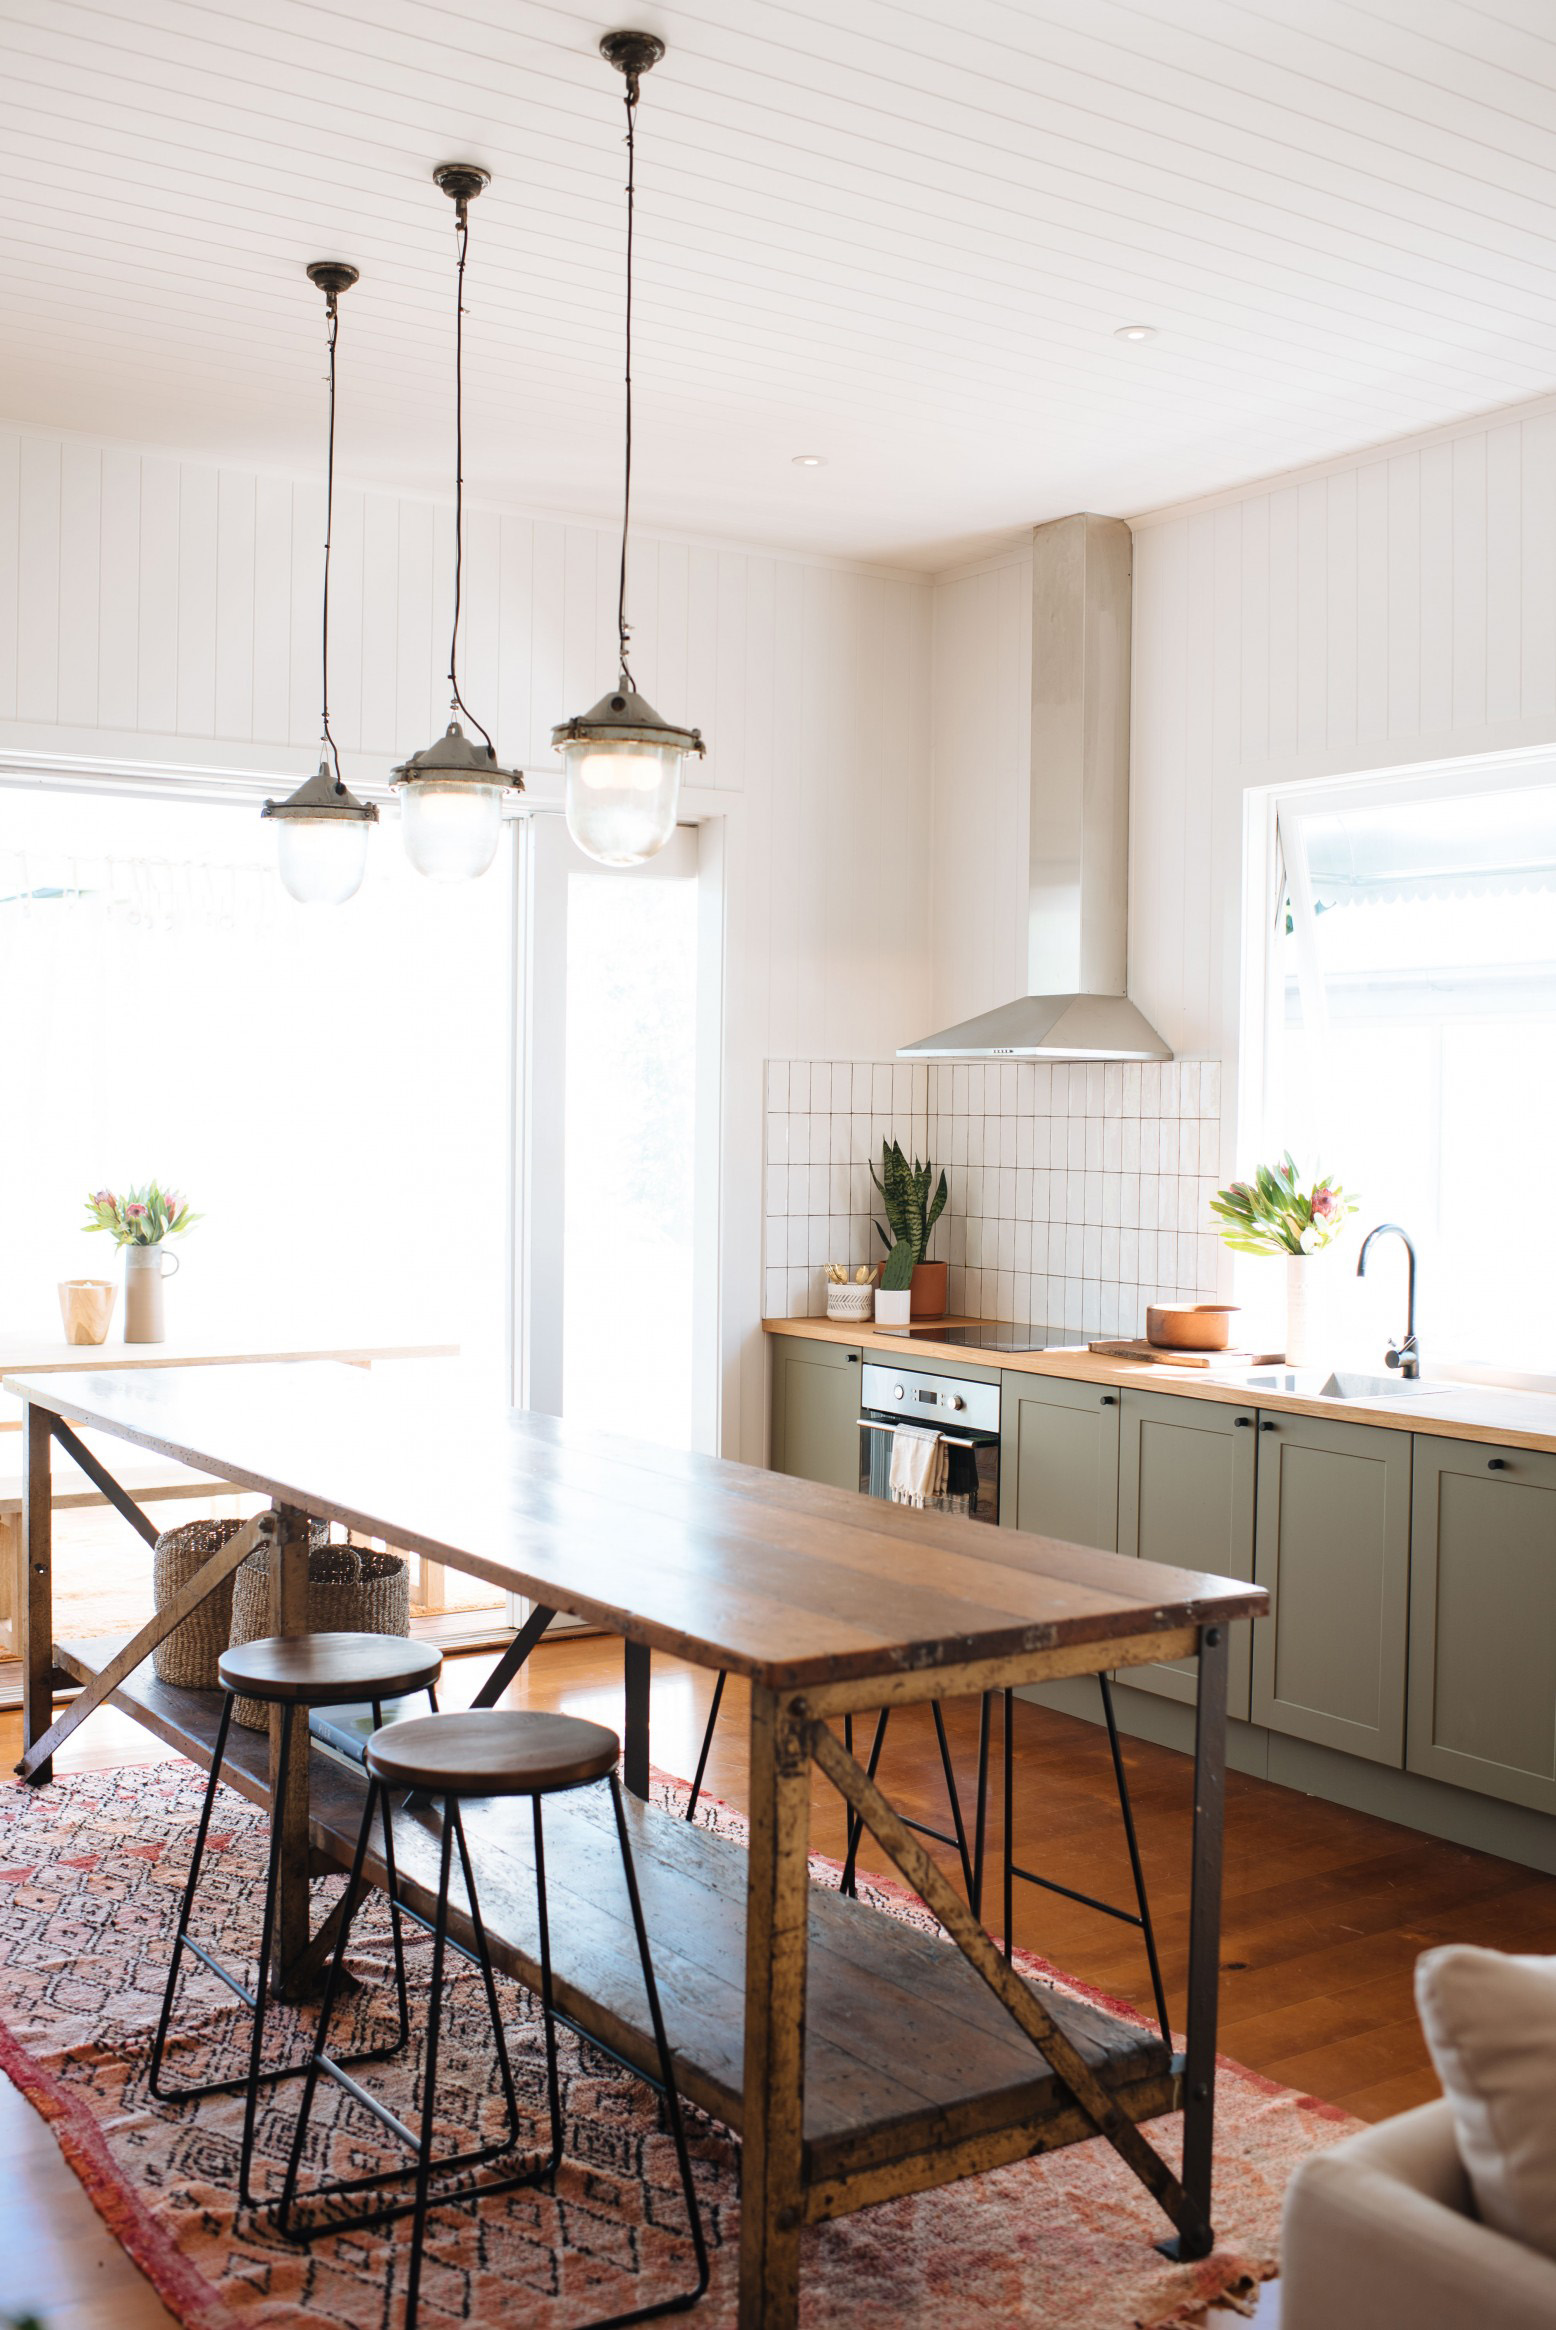
Kitchens can be dull places, made even worse by stock standard lighting in the form of down lights, fluros or boring pendant fittings. Invest in an unexpected touch like a basket or an antique pendant for a space with personality.

Paint those cabinets

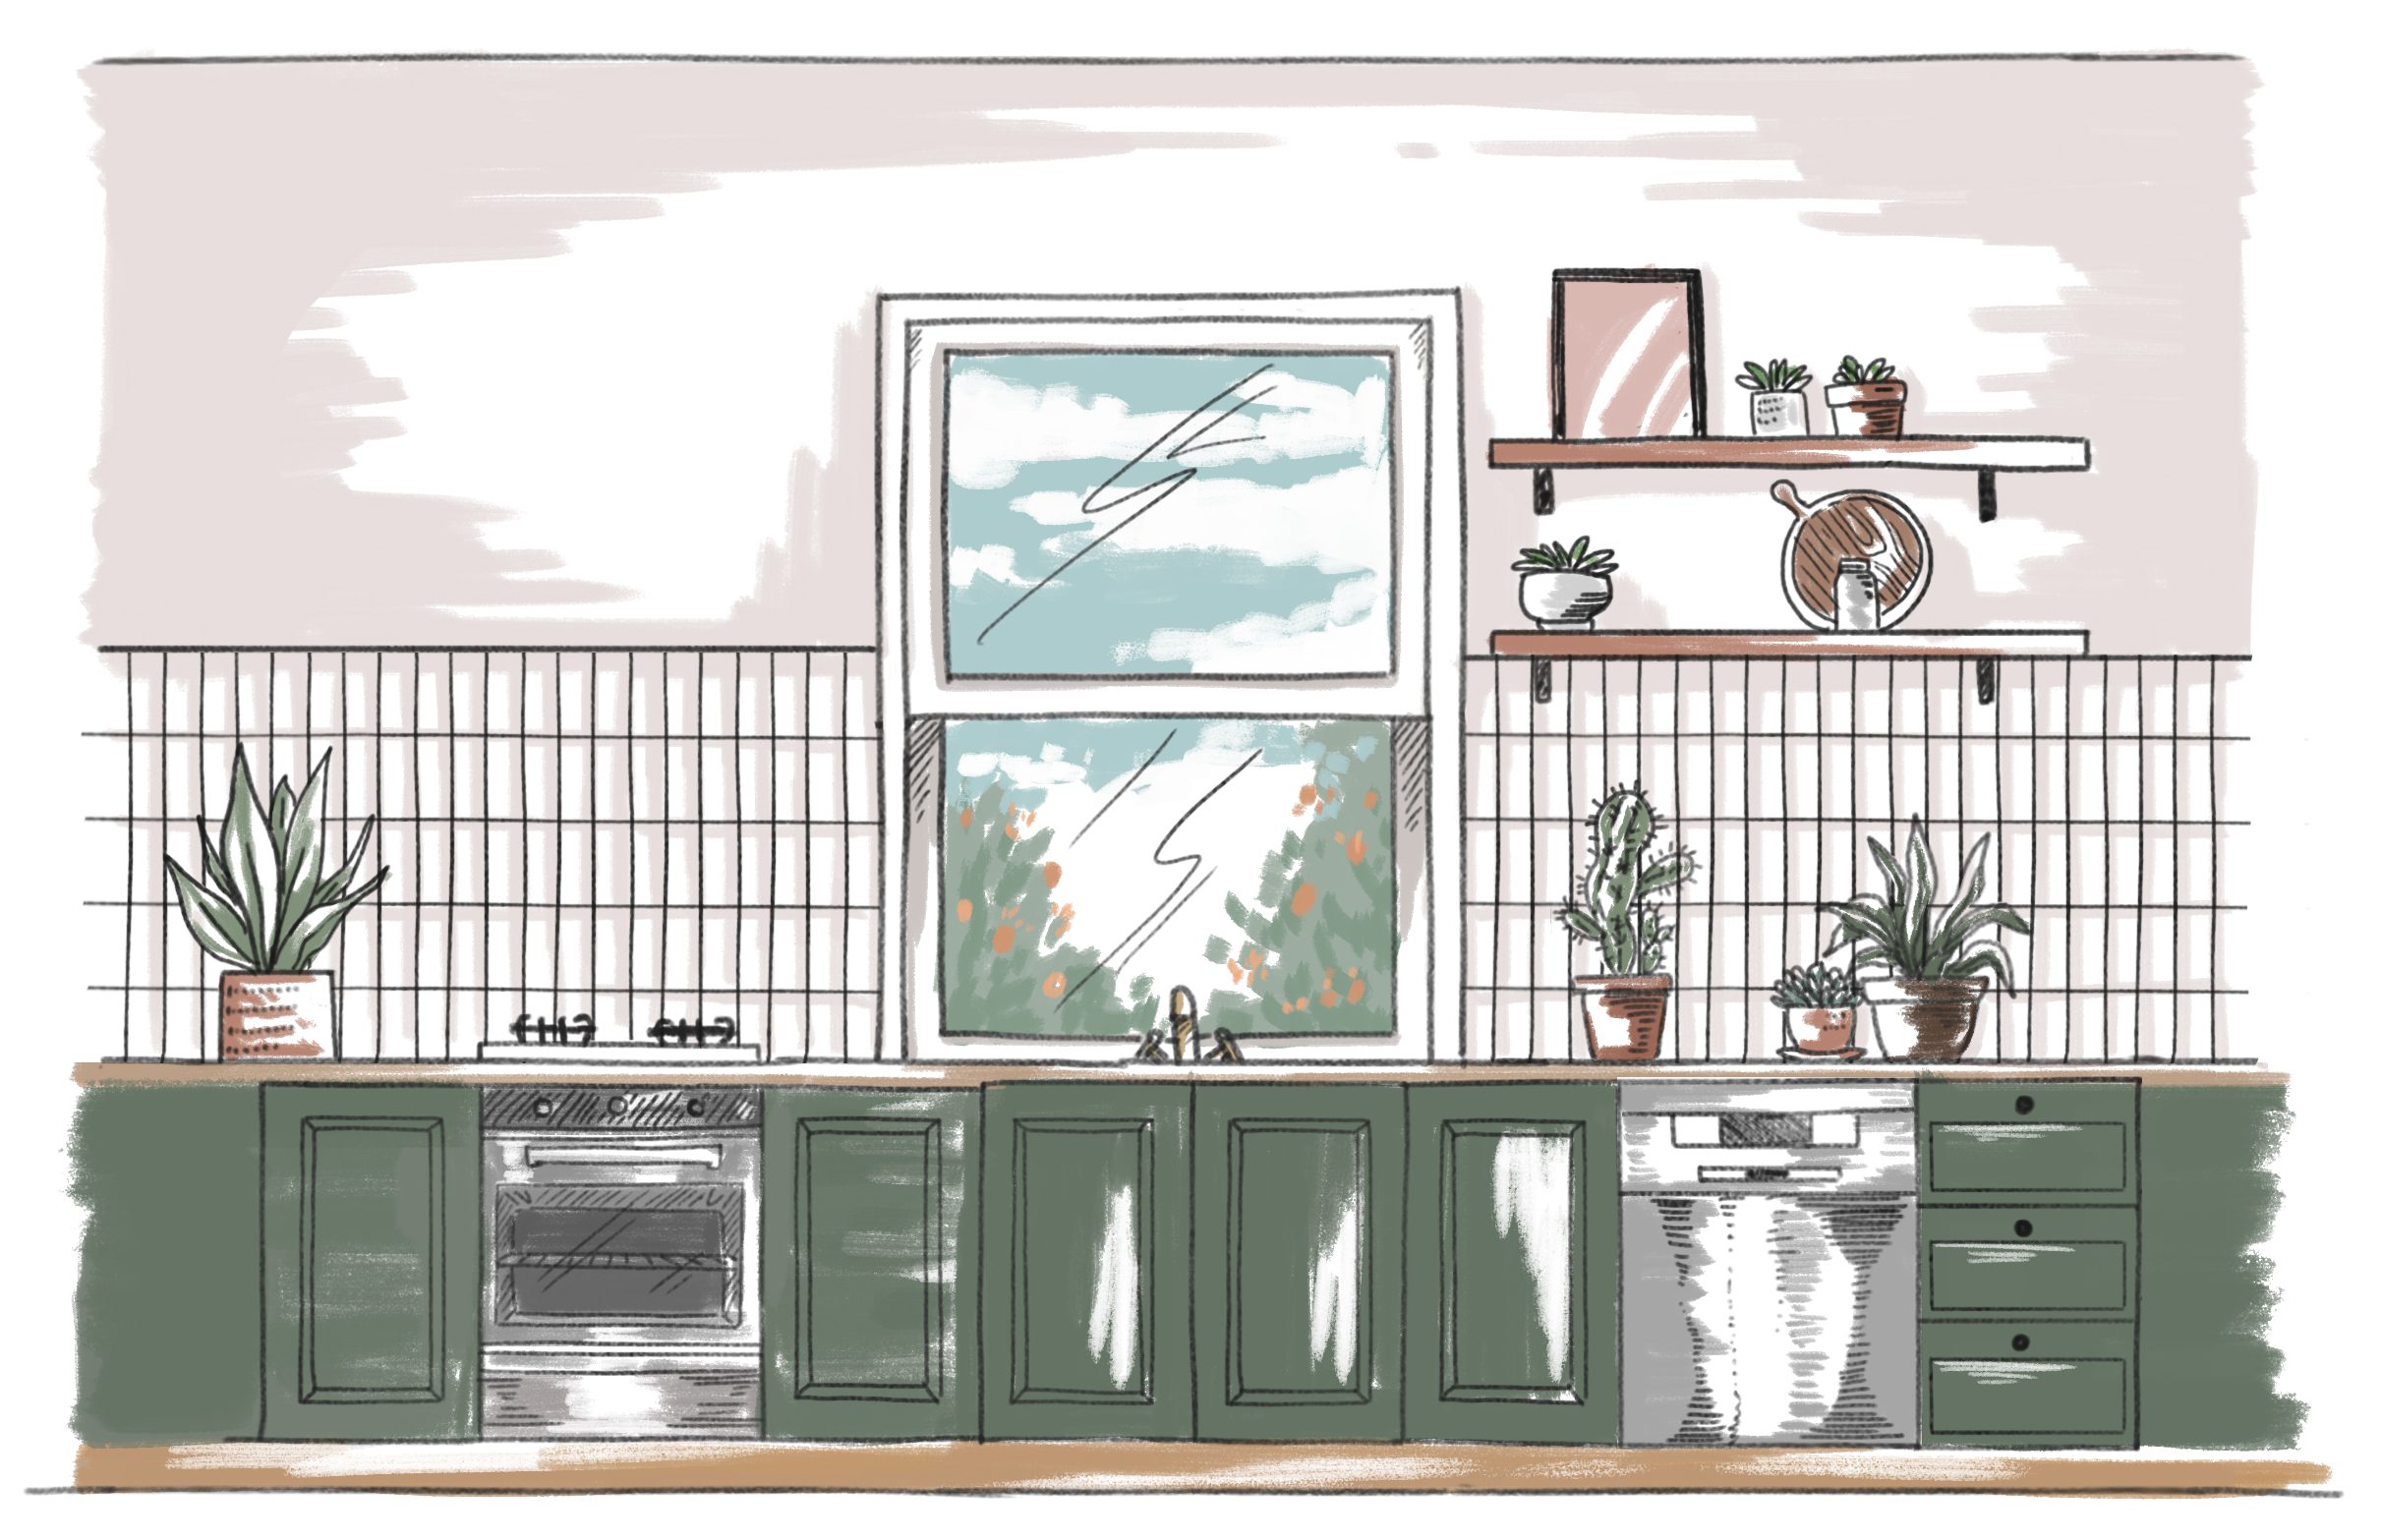
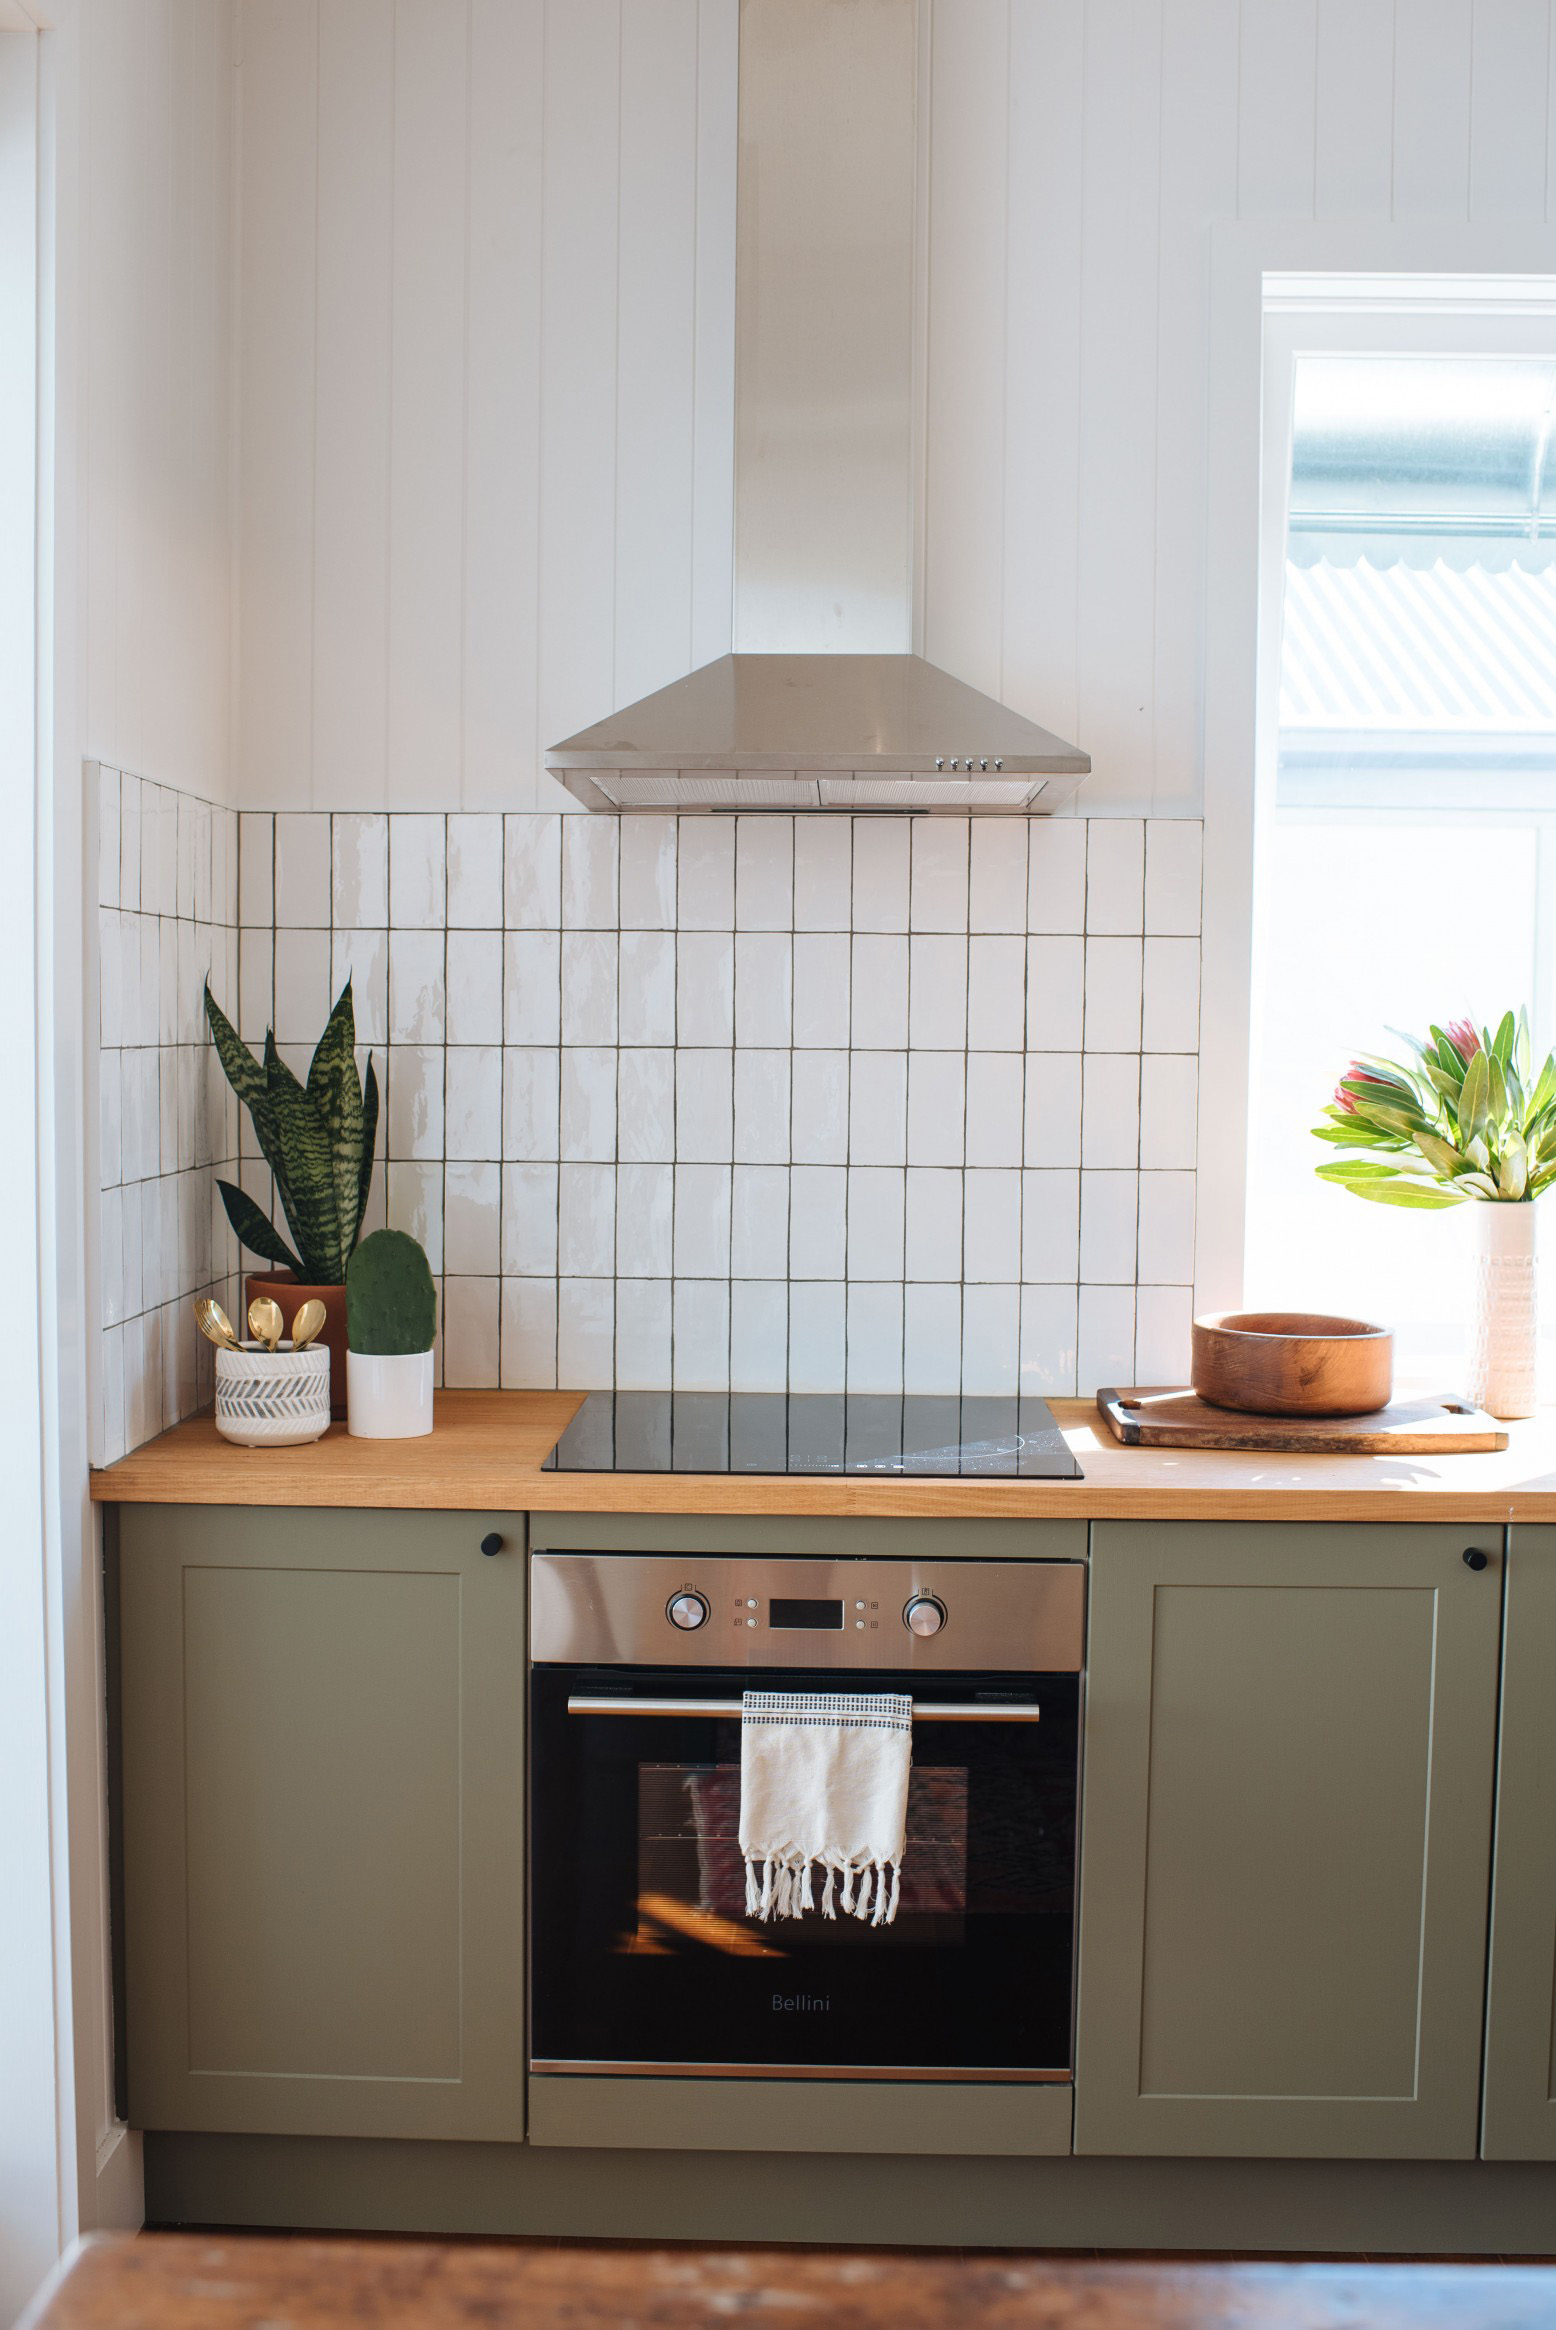
Surprise surprise. Geneva recommends painting your cabinets! Don’t hate me because I’m a broken record. But it’s true! The easiest way to add pizzazz (did I just say that?) to a basic cabinet is by painting it a custom colour. Most off the shelf cupboard options only have simple/boring colour ways but painting them a great colour scheme instantly makes a huge difference. See here to learn how.

Mix in antiques

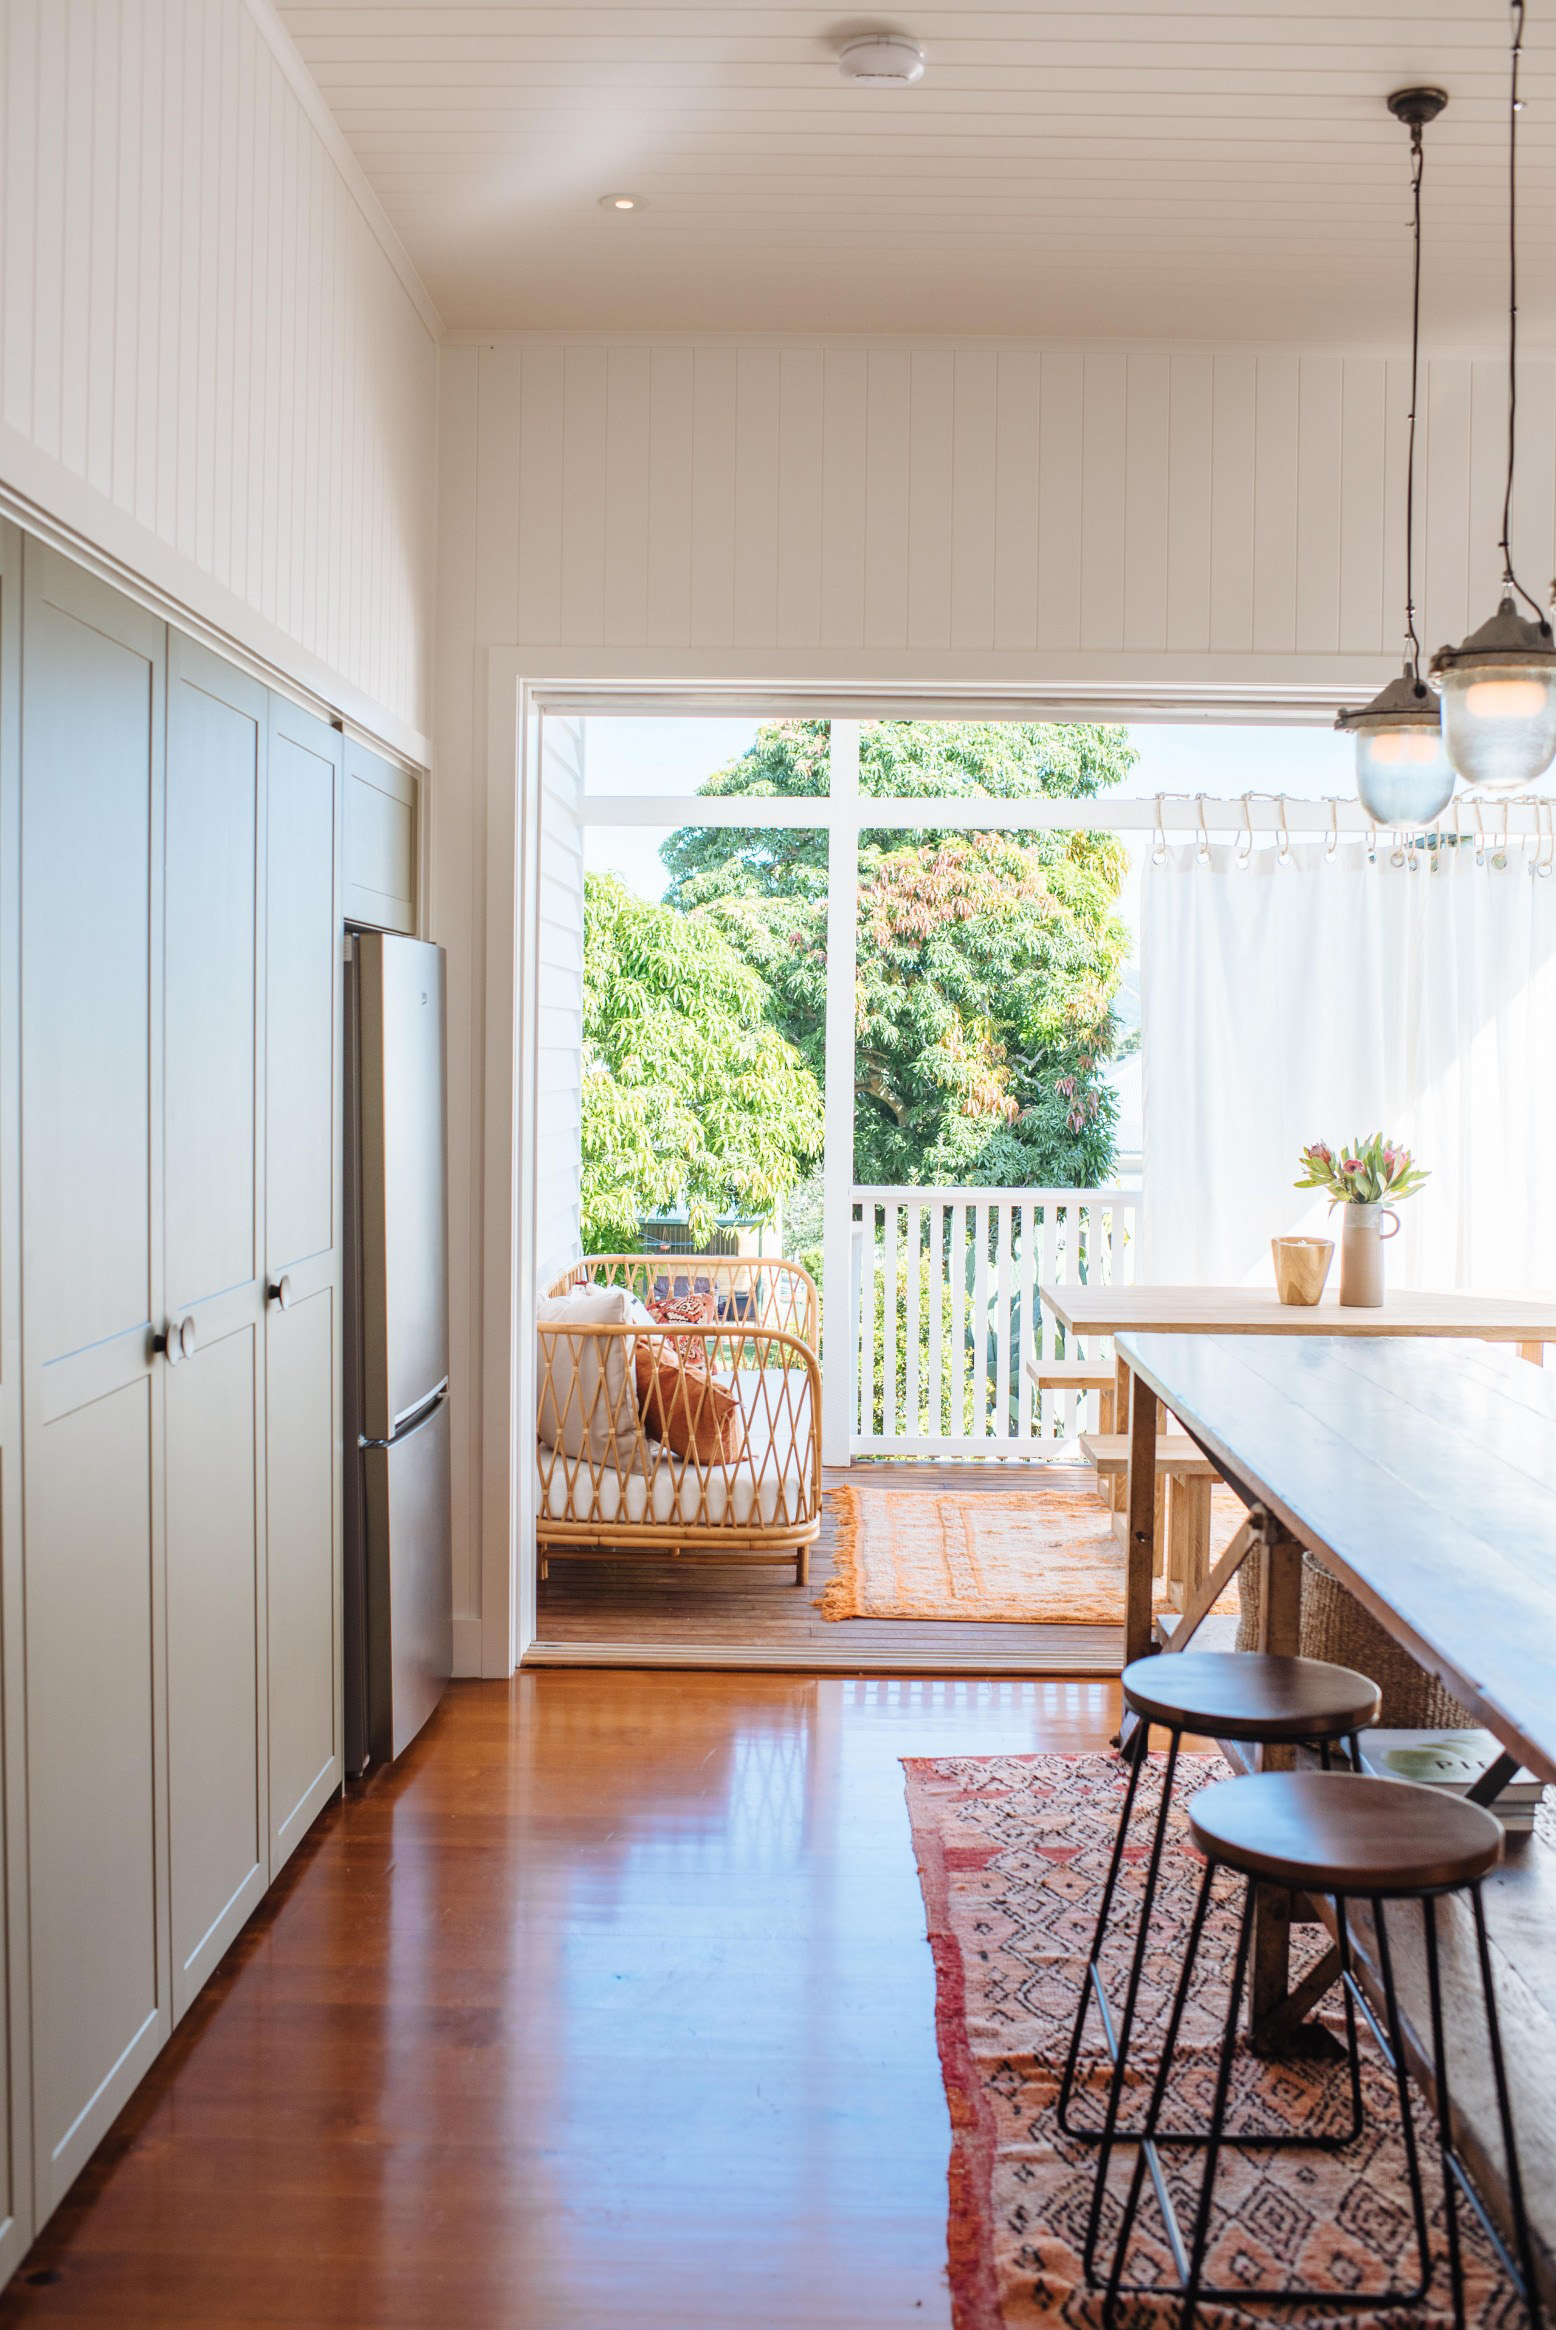
You know what says fancy and well thought out? A mix of textures and materials that gives a space depth and personality. A secondhand island or workbench adds so much personality to a space, and says refined luxury without trying too hard. The one we bought wasn’t exactly a steal but it’s the showstopper of the whole room.

Swap out those knobs

I was thinking of using gold hardware in the kitchen, but Ben took one look at these timber bowl knobs and knew instantly that they would add depth to the room and an added element of surprise. Timber can add an organic feel that makes a space!

Choose Open shelving

Some of you might cringe at the thought of open shelving. But I’m a fan! Obviously you need to have other storage too (like cabinets) where you can store all your ugly, non Pinterest-y junk. But if you can make that happen, open shelving is an ideal addition, to have a space to style and pretty up! All adding luxe points to a basic space.

What to DIY vs Leave to a Professional How to create a bespoke kitchen


The post Five DIY Ways To Make A Budget Kitchen Feel Expensive appeared first on A Pair & A Spare.


from A Pair & A Spare http://bit.ly/2IkZTws
via IFTTT

среда, 29 мая 2019 г.

The one thing that can make or break a new parent is sleep, or lack of it!

A baby that sleeps through the night really is the holy grail… And during those first few months when uninterrupted sleep is completely non-existent, you honestly feel like you’re going insane. Over on stories I often share little snippets of Frankie going to bed, or getting ready for her day time naps, and get so many questions from you guys about her sleeping habits. So I thought I would share our experience.

Before I get started I wanted to underline that babies and their sleep is a deeply personal issue and at the end of the day all you can do is follow your gut… There’s no wrong answer! I’m sharing a few things that worked for us, but what works for us might not work for others, and that’s totally fine.

Over the first few months of having Frankie I researched, talked to friends and asked pretty much everyone about what worked for them, from which I tried things and worked out which ones we wanted to use. It was haphazard but it was useful. For the first month there was no rhyme or reason to Frankie’s sleep, and she would usually wake 2 or three times during the night and I would feed her and settle her to sleep. Once we started encouraging her to self soothe at a few months, she got down to one feed a night (around 4am), and by around 3 months that had pushed out to 6am. At which point we didn’t mention it, we just tip toed around as if by acknowledging it we might jinx ourselves. And I admit, I’m a bit scared of even talking about it now, lest we throw out the cosmic balance and she decides never to sleep again. But here I go!
I’m going to sound like such a broken record when I say this, but Dr Michel Cohen’s book The New Basics has been the foundation of my (somewhat) smooth experience of new motherhood. Honestly. His relaxed approach, without all the drama,  rigidness and pressure of so many other experts has meant Frankie has generally been happy, and thus so have we. The whole book is actually available free here so you can read his sleep advice right now if you need it, but having the book on hand is useful to keep you away from google. See other books I like for parents here.

On ‘Sleeping through the night’

As I found out from the book, sleeping through the night is a bit of a misnomer, and the idea can cause confusion and added stress when your baby wakes up every few hours. A quote from the book:  ‘Sleep is not a continuous process. Try to remember how you slept last night. At the end of each of your nocturnal cycles, you woke up (at least five or six times per night), made yourself cozy, rolled onto your other side, and fell back asleep. The same thing happens for Lucy, except that for her, getting cozy means sucking. This starts right after birth. When Lucy is a newborn, every time she rises from slumber, you either feed her or rock her, which puts her to sleep again. After the first ten times, she begins to expect you to soothe her every time she wakes up at the end of her sleep cycle. When do people make the transition from being soothed to sleep by mom to being able to soothe themselves? That’s the ten-thousand-dollar question. But when it does happen, that’s when Lucy will “sleep through the night.”  It was so useful to be told that a baby waking up isn’t the end of the world, in fact it’s normal! It’s how they get back to sleep that’s key.

The most important thing for us? Frankie learning to self soothe.

I guess looking back, the most important thing that Frankie learnt early on (thanks to Dr Cohen’s advice) was how to self soothe. For the first month or two, I would feed her to sleep, and once she was asleep I would move her to the bassinet, completely terrified that a sudden noise or movement would wake her up. And it often did! Because who wouldn’t want to sleep on a warm breast rather than in a bassinet? After a while I was so incredibly exhausted, that sobbing-at-10am sort of exhaustion, and I knew something had to give. Dr Cohen talked about teaching a baby to self soothe, so we focused on that. This meant putting Frankie down awake (fed, changed happy etc), letting her wriggle, suck and sometimes grizzle and finally fall asleep on her own.

It didn’t take long for her to get used to this, and yes there were a few nights when she was more grizzly, but within a few days she had gotten used to falling asleep on her own. Dr Cohen says:  ‘In the first couple of months, I suggest that you not jump up at her slightest peep and that you ignore her minor whining so she can soothe herself back to sleep. That means letting her wiggle, fuss, or suck on her fist for a while. If she manages to fall back to sleep without your help even once, she’s learned the basis of self-soothing, and it will happen more naturally the second time’. This was a totally game changer for us, as after a while Frankie could put herself to sleep when she naturally woke up form a sleep cycle at night, and would also have no trouble falling asleep in the day. Of course if she really woke up and started sobbing I would feed her, but not simply as a way of getting her back to sleep (which is something that’s very easy to do when it’s the middle of the night and I just wanted her to go back to sleep!).

A few other things that helped…

Finding a Routine

Most of the time we’re pretty casual and relaxed. But what surprised me was how important routine was for Frankie. She thrived on regular naps and not having her sleep interrupted. One thing I will say is that whilst we have a general routine, we try to match her mood and what she wants. I read ‘Save Our Sleep’ by Tizzie Hall which has the most INTENSE routines, including lots of waking the baby if they sleep too long and delaying feeding so it falls at exactly the right time etc. For me, that just didn’t feel natural at all. So whilst I am all for routine and generally follow one, I don’t stress if her nap goes over or her feed is at the wrong time. Life is stressful enough without that!

Understanding Frankie’s cry

The hardest part about the first month is that you have zero idea about what your baby’s cry means. You jump up at every peep and are even really worried about any noise. But over time I noticed that you get to know your baby’s cry, and you can get better at understanding whether it’s a real cry or just your baby waking up from a sleep cycle. Over time (and I think this happens to most people) the crying becomes a second language and you work out when to worry and when not to.

The dream feed

I used the dream feed with Frankie until she was around 6 months, meaning you do bath time and bed, and then you do another feed around 10pm where you feed them without waking them up. This hopefully extends their sleep time and stops them waking up too early in the morning. I found this useful, although I found that when I dropped it she was ready and slept even better through the night without the dream feed.

Minimising burping and changing

I noticed that at around three months Frankie didn’t need to be changed as much in the night time, and as soon as we could we gave it up all together. By minimising burping and changing during the night I found we were much more likely to get a full night’s sleep.

Bath time routine

A wind down before bed is useful for everyone, particularly babies. Early on we adopted bath time, stories and a general relaxing routine which I think helped Frankie to know it was time to sleep for longer.

The right set up

Finally, as I’ve mentioned before in my Newborn Essentials post, we loved the Gro Bag, which we used with the sleepyhead for the first few months. Now Frankie’s in a Stokke Crib. In those first few months a really cosy set up with a swaddle or gro bag is perfect for them.

I hope this has been useful guys. At the end of the day, there’s no single answer and I think you just have work out what suits you and your family. Good luck!
The post How we got Frankie to sleep through the night appeared first on A Pair & A Spare.


from A Pair & A Spare http://bit.ly/2YRXxud
via IFTTT
вторник, 28 мая 2019 г.

Hey guys! I’ve been itching to get making and I wanted you guys to come along for the ride…

After staying at home for most of the year during 2018 (giving birth is sure to dampen your travel plans!) I’m excited that we’ve finally booked a European summer trip. To say I’m a little scared of travelling 18 hours with a one year old (and the ensuing jet lag) is the understatement of the century, but you know what they say, no pain no gain right?

We looked at so many destinations but in the end couldn’t pass up some island time in Spain… It’s really one of our favourite places to visit! As I’ve mentioned before, trips such as these inspire me to get creative, and I have to say, pressing confirm on our seaside Airbnb got my creative juices flowing!  I mean, it’s impossible to go on a summer trip without over thinking (or over making) the wardrobe. Which is why, dear readers, I am once again going to enlist you to help me decide what to make for the trip!

The Inspiration

At the moment I’m feeling so inspired by lots of drama, pattern and colour. I’m done with minimalism for now! Which is such a relief, although I’m aware that statement pieces such as these don’t get worn as much as more simple pieces, but I feel it’s ok to splash out now and again. Right now I’m really inspired by the designs of Johanna Ortiz and Lee Mathews, with lots of volume and flounce, but using sheer fabrics so that you still have a good silhouette.

The fabrics

I have to admit that the ink wasn’t even dry on my credit card slip before I was rummaging at my local fabric markets, finding the perfect silks to go with my straw bags and oversized earrings. The fabric market I go to is amazing because all their fabrics are end of roll – meaning they are dead stock and would otherwise end up in landfill… Not only are they incredible fabrics, you can buy them virtually guilt free!

The Ideas

This time I went to the fabric markets with a bit of an idea in mind for what I wanted – sheer silks! After I bought the fabrics, I very quickly pulled some inspiration (above) that has been floating around my Pinterest boards for some time now. And got to work on some ideas.

A sheer silk wrap skirt I love the idea of a sheer silk skirt worn over a black swimsuit, or over a slip for when you’re going out!

A tiered dress The bigger and more dramatic the design the better right now, which is why I love tiered styles. They’re not easy to sew, particularly with silk, but they are so pretty!

A bell sleeve voluminous crop top Voluminous crop tops are on my radar, with big sleeves and cinched in at the waist using a gathered hem. This feels pretty doable!

A ruffled skirt More is more, and ruffles are the perfect piece for a fancy holiday wardrobe.

Question

So guys! I would absolutely love to hear what you think I should make… Basically forget any rule you’ve heard about what to wear when you travel with a baby – it’s my holiday and I’ll stain my floaty silk dress if I want to! But seriously, any ideas would be very much appreciated. Thanks for your help!

Inspiration imagery via Johanna Ortiz, Lee Mathews, Atlantic Pacific.

The post Question: What should I make with these fabrics? European Summer edition! appeared first on A Pair & A Spare.


from A Pair & A Spare http://bit.ly/2EBEKvx
via IFTTT

суббота, 25 мая 2019 г.

If there’s one skill that I’m in complete awe of, it has to be illustration. It’s just so incredible the way that some people are able to are able to perfectly encapsulate the world through drawing.

But illustrator and textile designer Sara Boccaccini Meadows does so much more than that, and in fact takes illustration to another level, hand crafting a whole intricate universe of flowers, plants, people and cities. Her drawings are, whilst being so real and beautiful, completely out of this world! After discovering her a whole ago, I knew I wanted to pick her brain about her creative process. Read on for more.

Tell us a little bit about yourself.

I’m Sara Boccaccini Meadows, an illustrator/textile designer living in NYC. I love traveling and like to explore new places in my spare time. I’ve recently been on trips to Hawaii and Iceland which were super inspiring for my illustrations, I keep sketchbooks and journals from my travels and love looking back on them for ideas. Different types of architecture, landscapes and foliage always inspires new work.

How did you start experimenting with illustration and pattern design?

I studied textile design at university which developed my illustration skills for working in the fashion industry. It’s only the past few years I’ve been exploring watercolors and gouache to develop my own style of painting. I’m a self taught painter and half the time I don’t think i’m doing it right- but it somehow works for me and the main thing is it relaxes my mind. I think everyone needs a creative outlet and I’m lucky mines turned into a job.


What inspires your use of materials in your designs?

I mainly use watercolor and gouache then layer ink and line work to create depth and texture. I love to experiment with new materials too and have recently been playing around with coloured pencils. A watercolor pan is great to travel with! Gouache can be a bit of a nightmare if it leaks from the tubes (recently happened to me on the flight back from Iceland…argh!).

What is the process behind creating your designs?

I gain a lot of inspiration when I’m traveling, new cultures and landscapes often inspire me to create new designs- as you can see from my trip to Iceland and Hawaii recently. I start by journaling scenes and details in my sketchbook. This could be a landscape, colours, details from a rock, foliage, patterns of the earth.I then might scan the illustration to create a pattern in photoshop or develop it further into a larger painting. It really depends on how I feel later on. Sometimes i’ll really dislike a painting, then weeks later I’ll come back to it and start to enjoy it again. 


Do you have any creative advice for us?

My sketchbook is such an important part of my process and I really think helps push my creativity. I would recommend anyone to get one for a trip to document things that inspire you.Don’t worry about the imperfections- this for me is what makes art so interesting.

Thank you for your lovely and sintering words Sata! Make sure to follow Sara’s creative journey on Instagram, her blog or grab a copy of her book!

The post The Intricate World of Illustrator Sara Boccaccini Meadows appeared first on A Pair & A Spare.


from A Pair & A Spare http://bit.ly/2HOY9Kl
via IFTTT

четверг, 23 мая 2019 г.

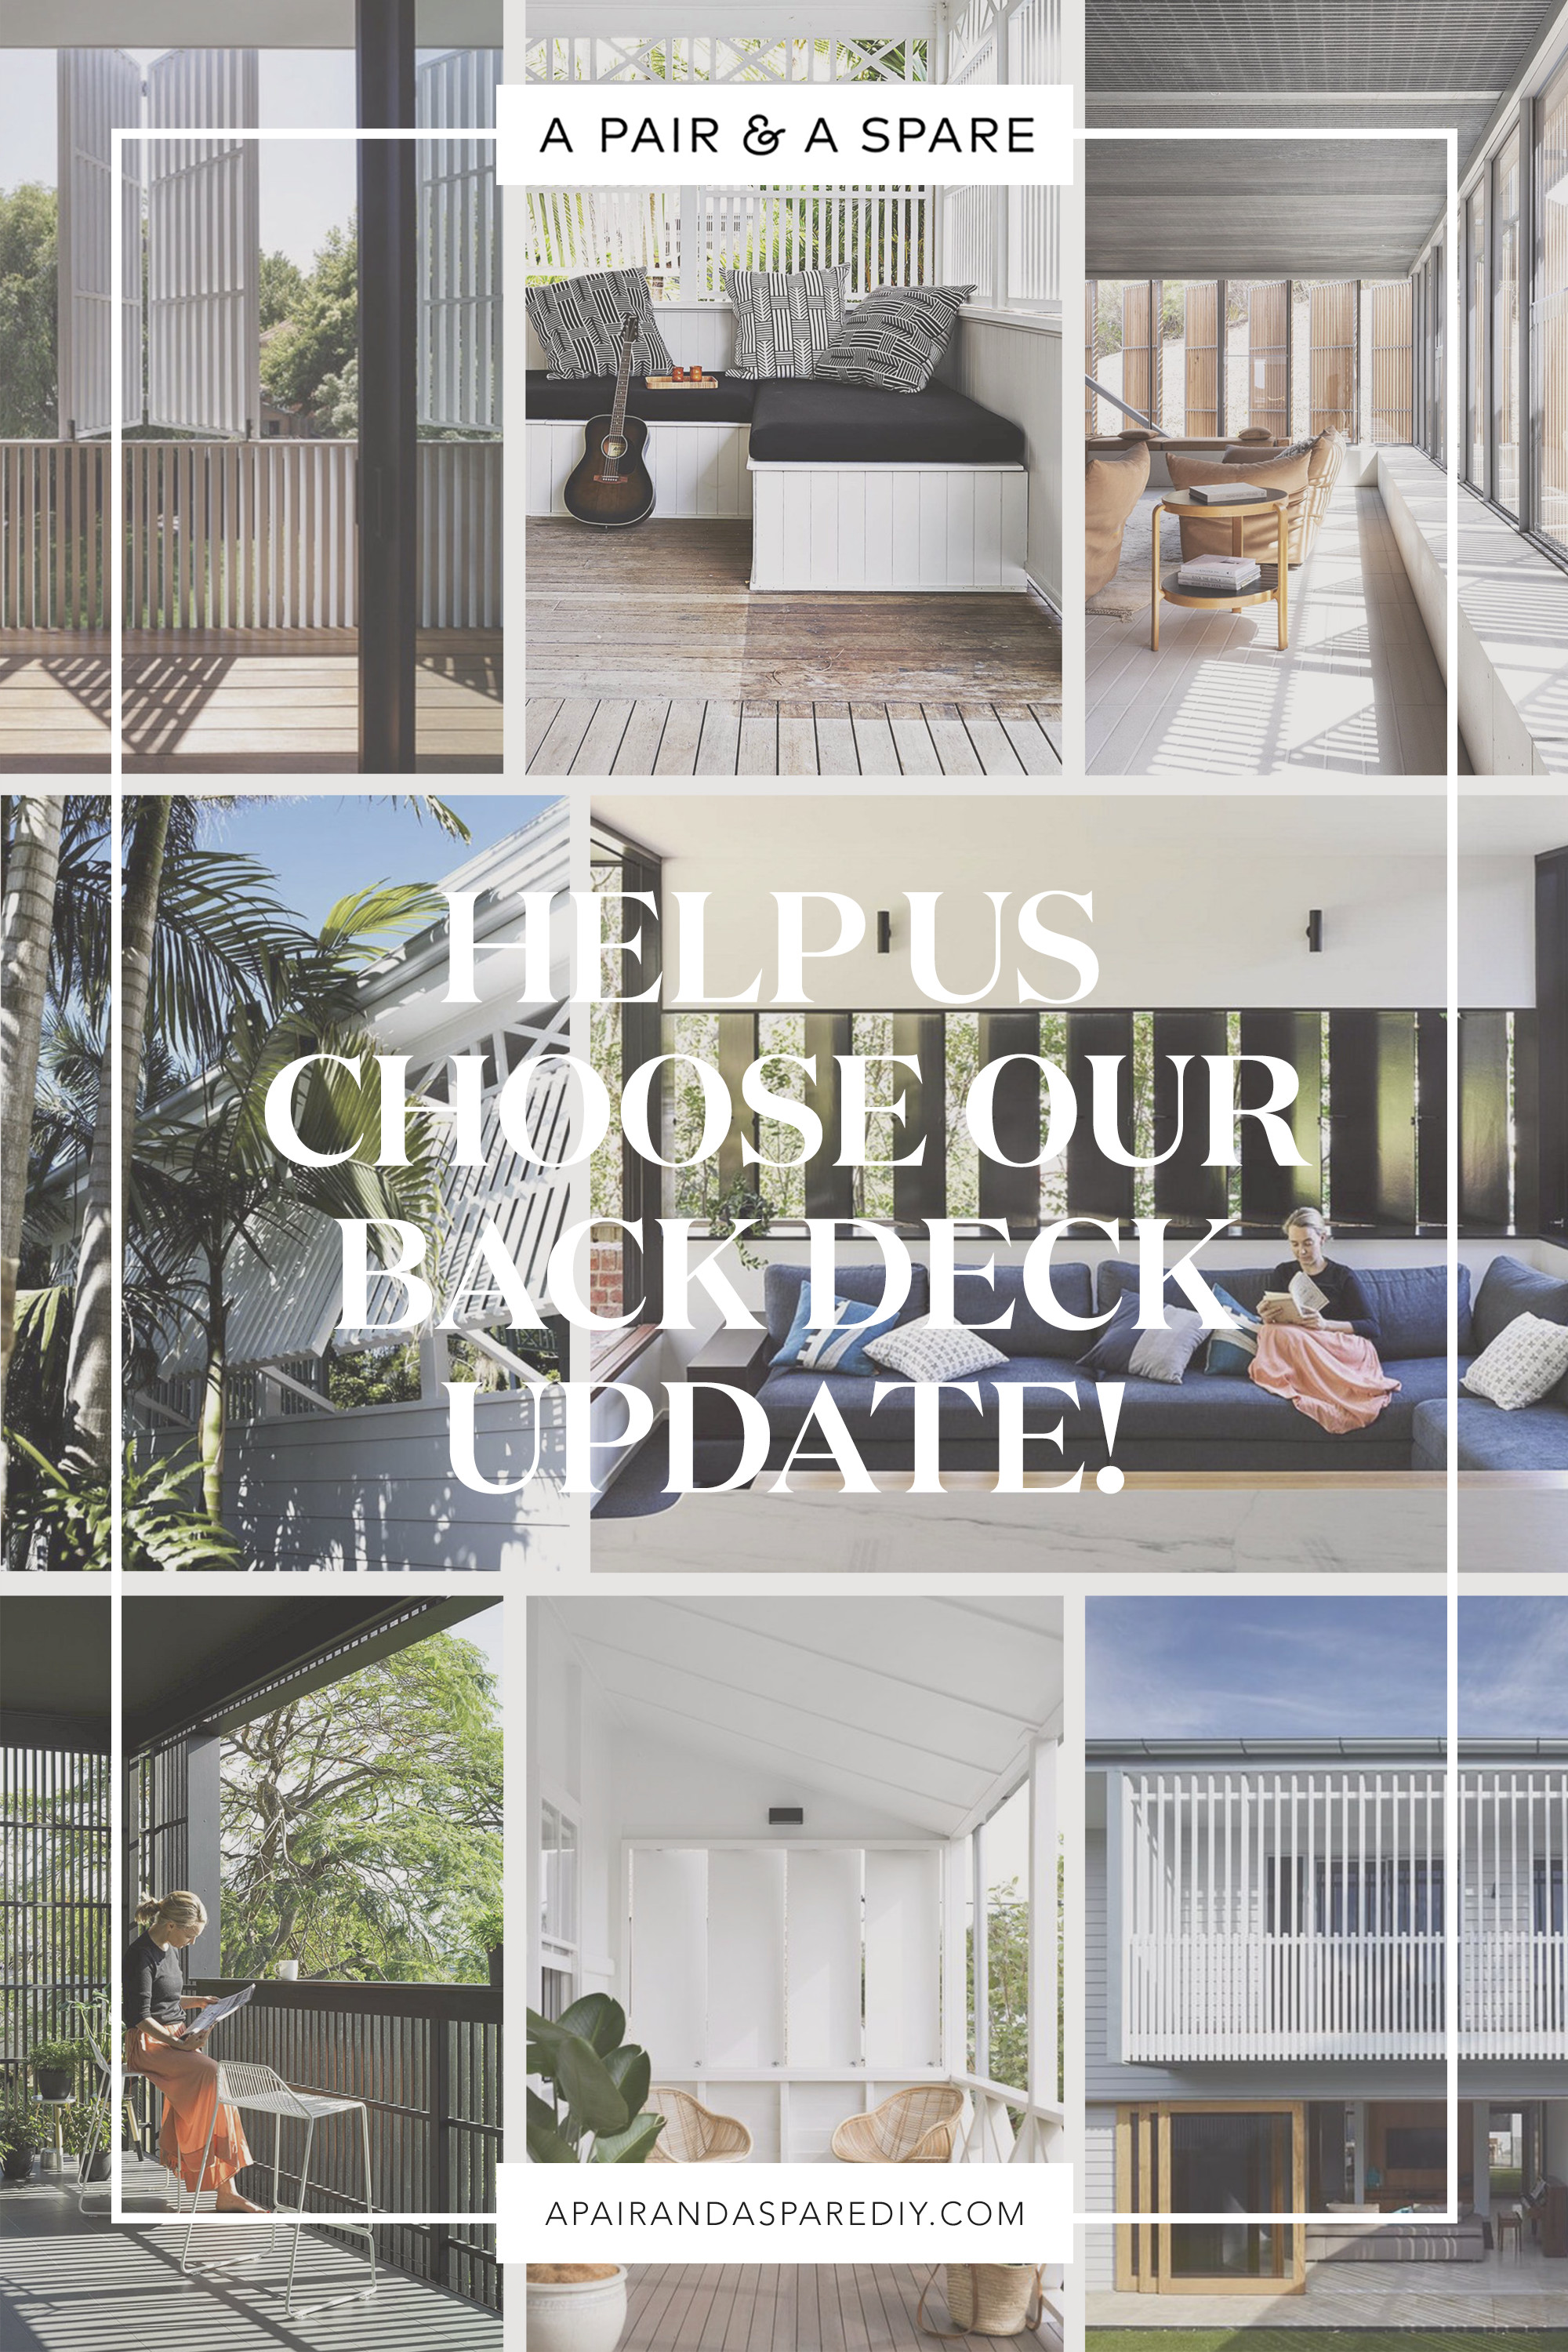
Hey guys! I’m coming to you with a little request, that you help us decide on an update to our back deck…

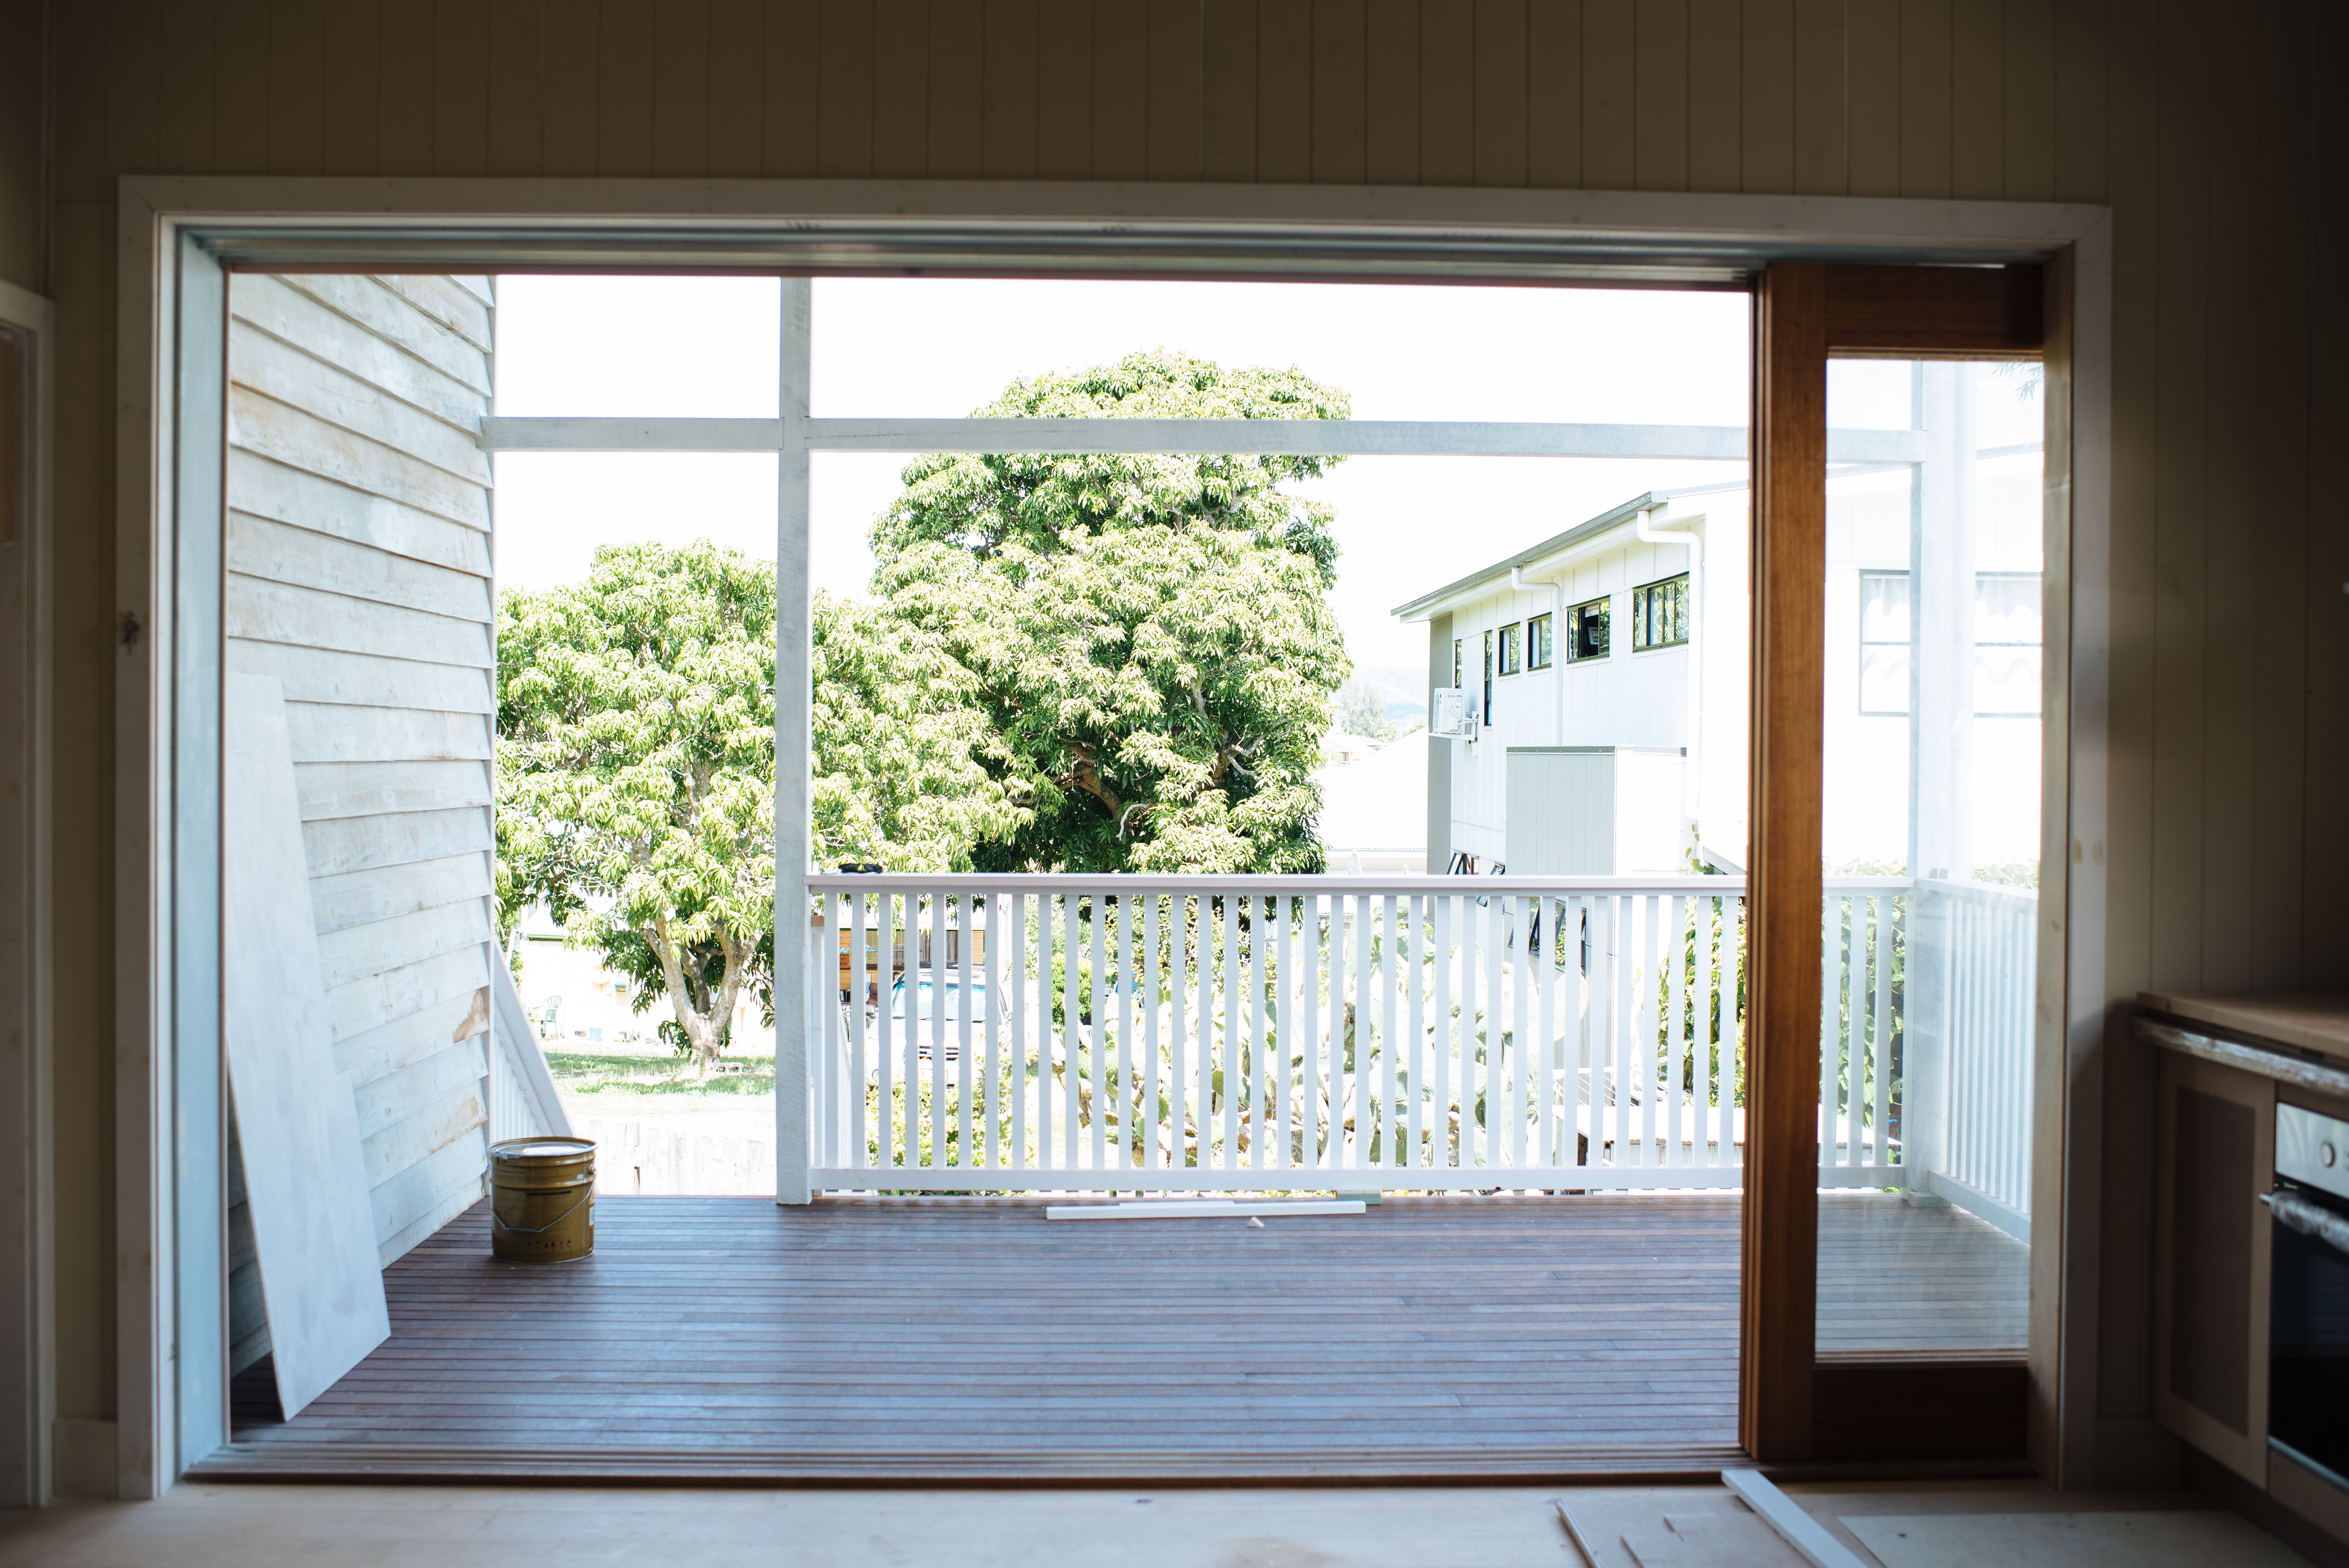
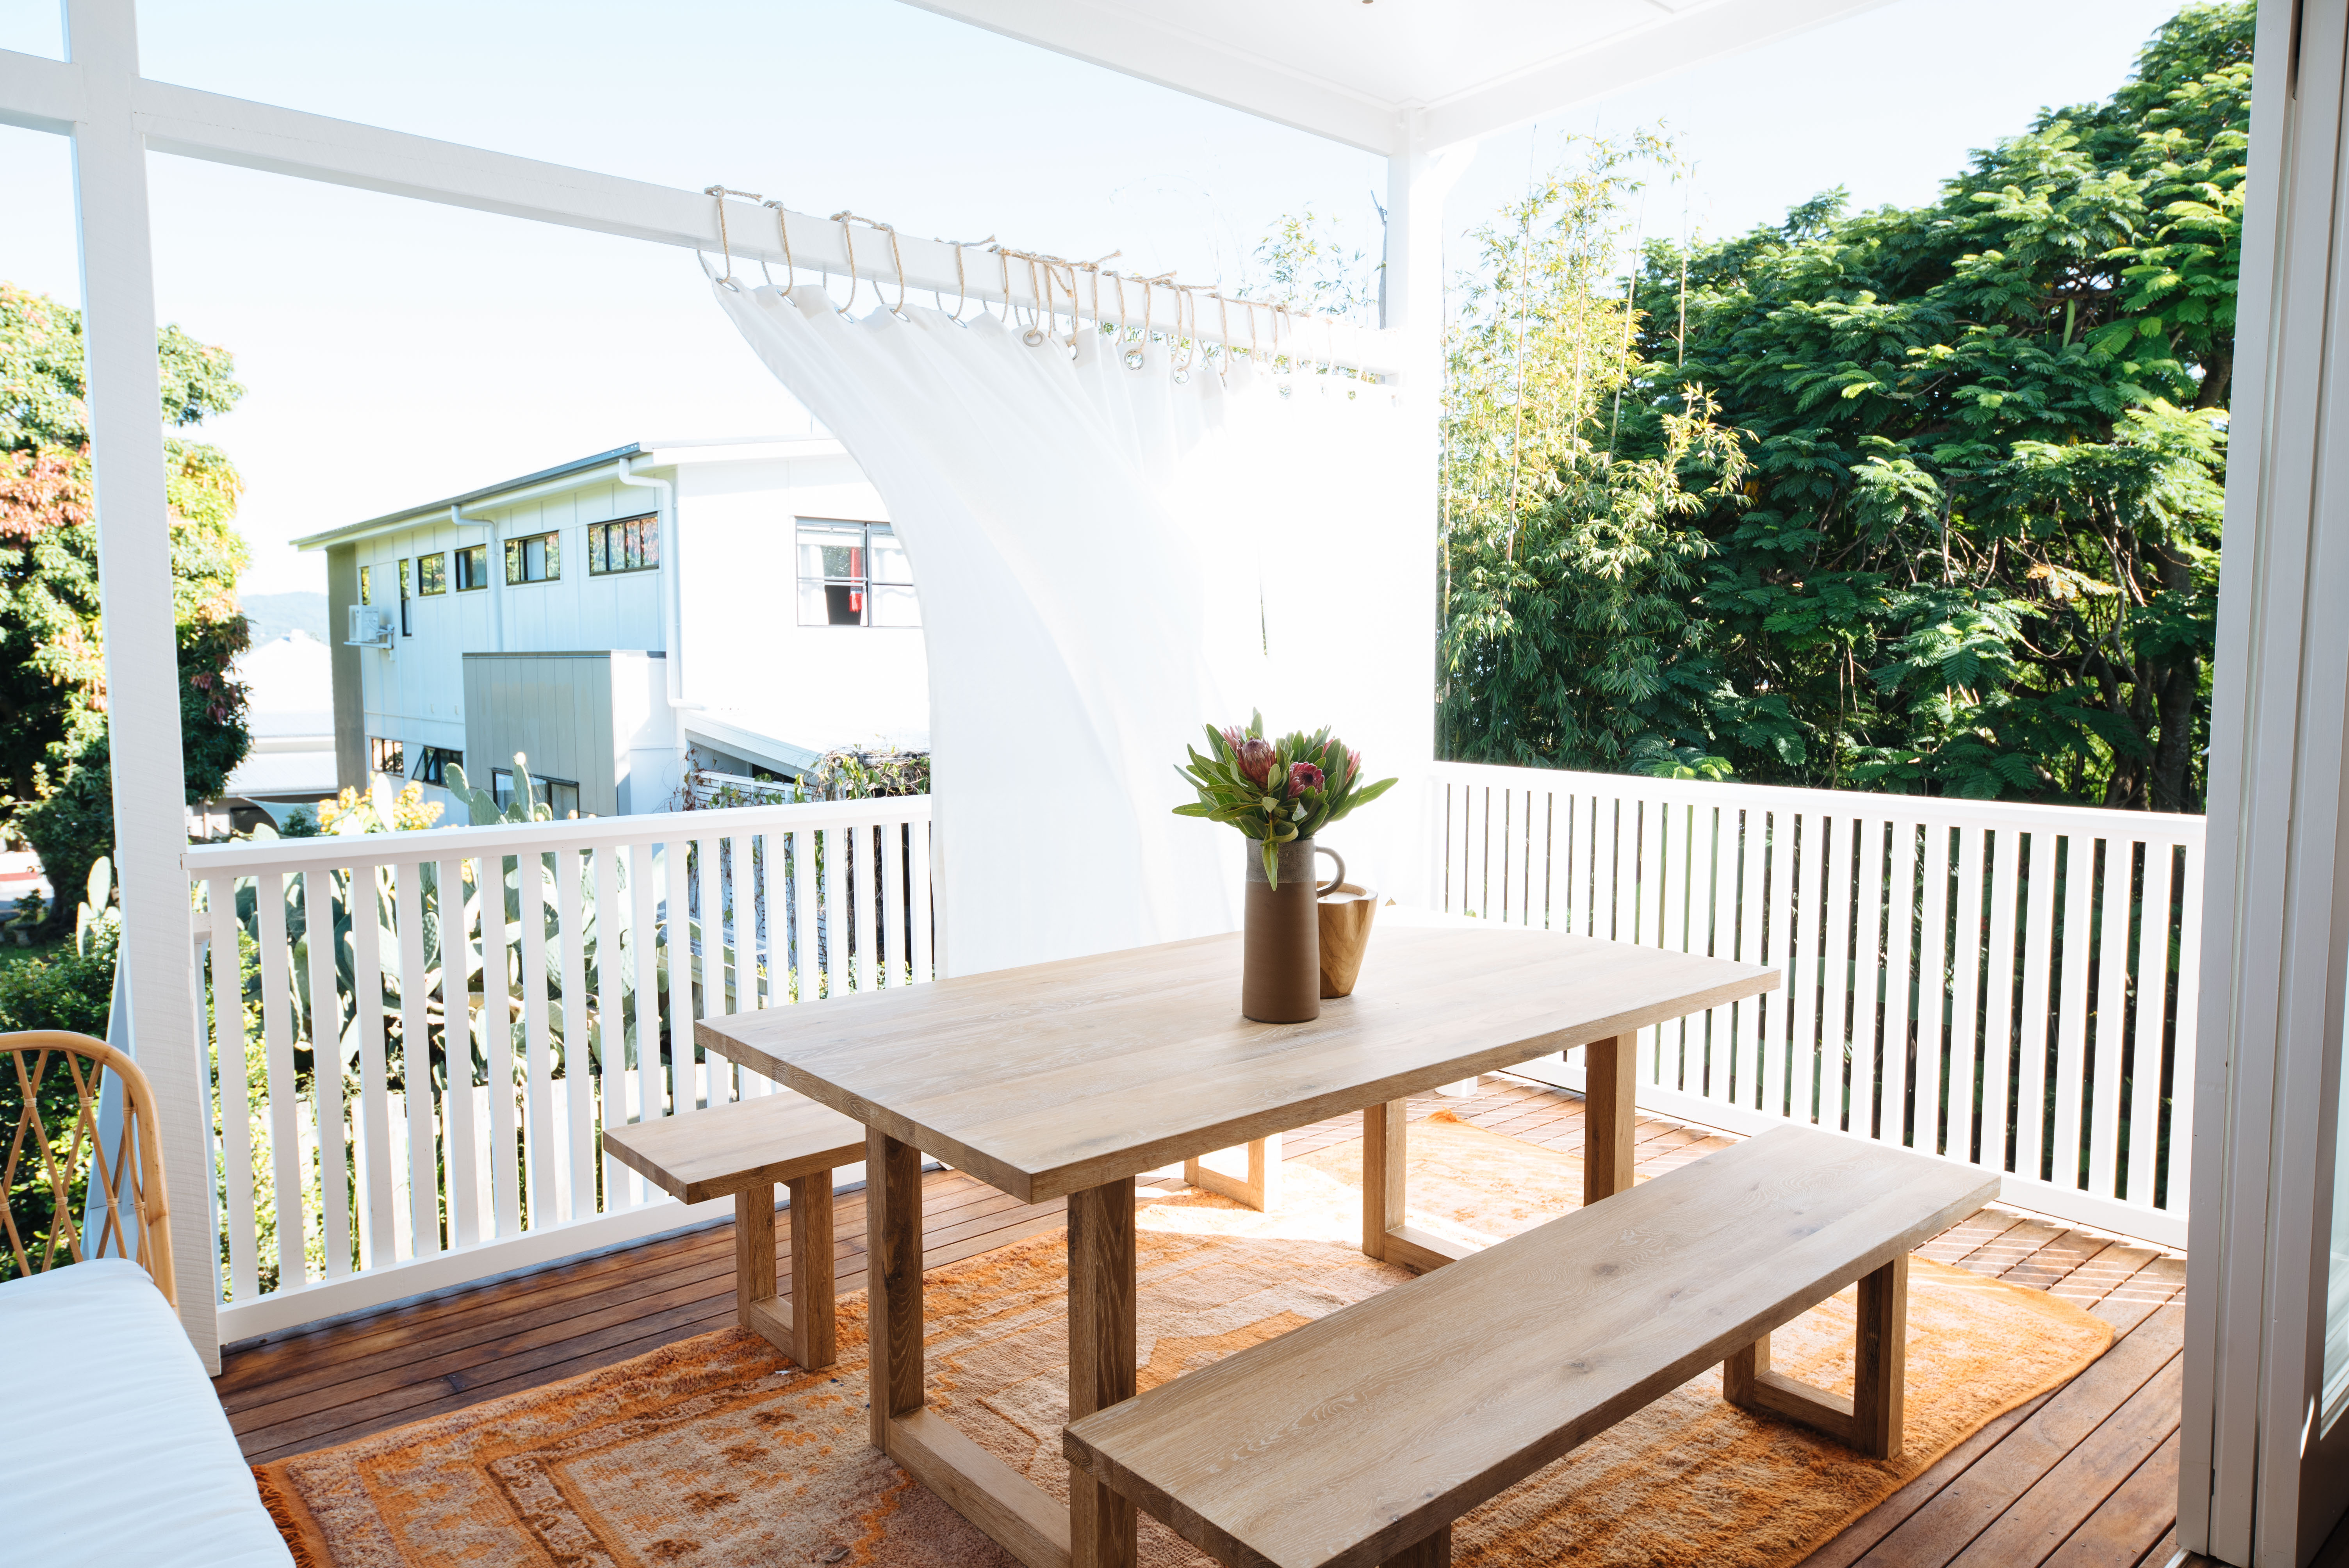
You’ll remember the space from last year when I shared the outdoor reveal of our renovation.. As is the case with all renovations, it’s never really over! We created a very simple canvas curtain, but over time we have decided that we wanted something a bit more permanent and sturdy enclosing the space. I guess we always knew we would do something along these lines, but the budget was tight at the time. Anyway, there are soooo many options out there and I wanted to share a few ideas with you, and get your thoughts. You guys were instrumental in choosing the paint palette and the tile pattern for the house, and I know you’ll have some great thoughts to share on this too.

So why do we want an update?

Being on the western side of the house, this space can get hot in the afternoon. A curtain / blind has gone a long way to fixing this, but over time we’ve decided we’d like something built in above the balustrade, either pop out wooden panels, cantilevered panels or something made using the same vertical timber slats.. But we’d like to avoid changing what’s there as much as possible! Another goal is security and privacy, it would be great to be able to comfortably leave the back doors open, so long as the design was breezy but still enclosed.

The Space

You’ll remember the space itself, and it really is a lovely place to gather and relax. I love how it spills out from the kitchen! The view to the right is gorgeous (the neighbour’s trees), and we’ve also planted our own Poincianas and Lillie Pillies in the back yard below the deck so we should have a nice shady space in the next few years… That said, some extra privacy/screening now would be great. However, I would also love to be able to keep the open feeling of the indoor space – so that when you look from the kitchen out you see out rather than feeling penned in. So in that way something that opens or folds is key so you can have it open if you want. We’ll also be putting a back gate/door that leads onto the steps, and hoping to match the style with whatever we end up choosing.

The Ideas

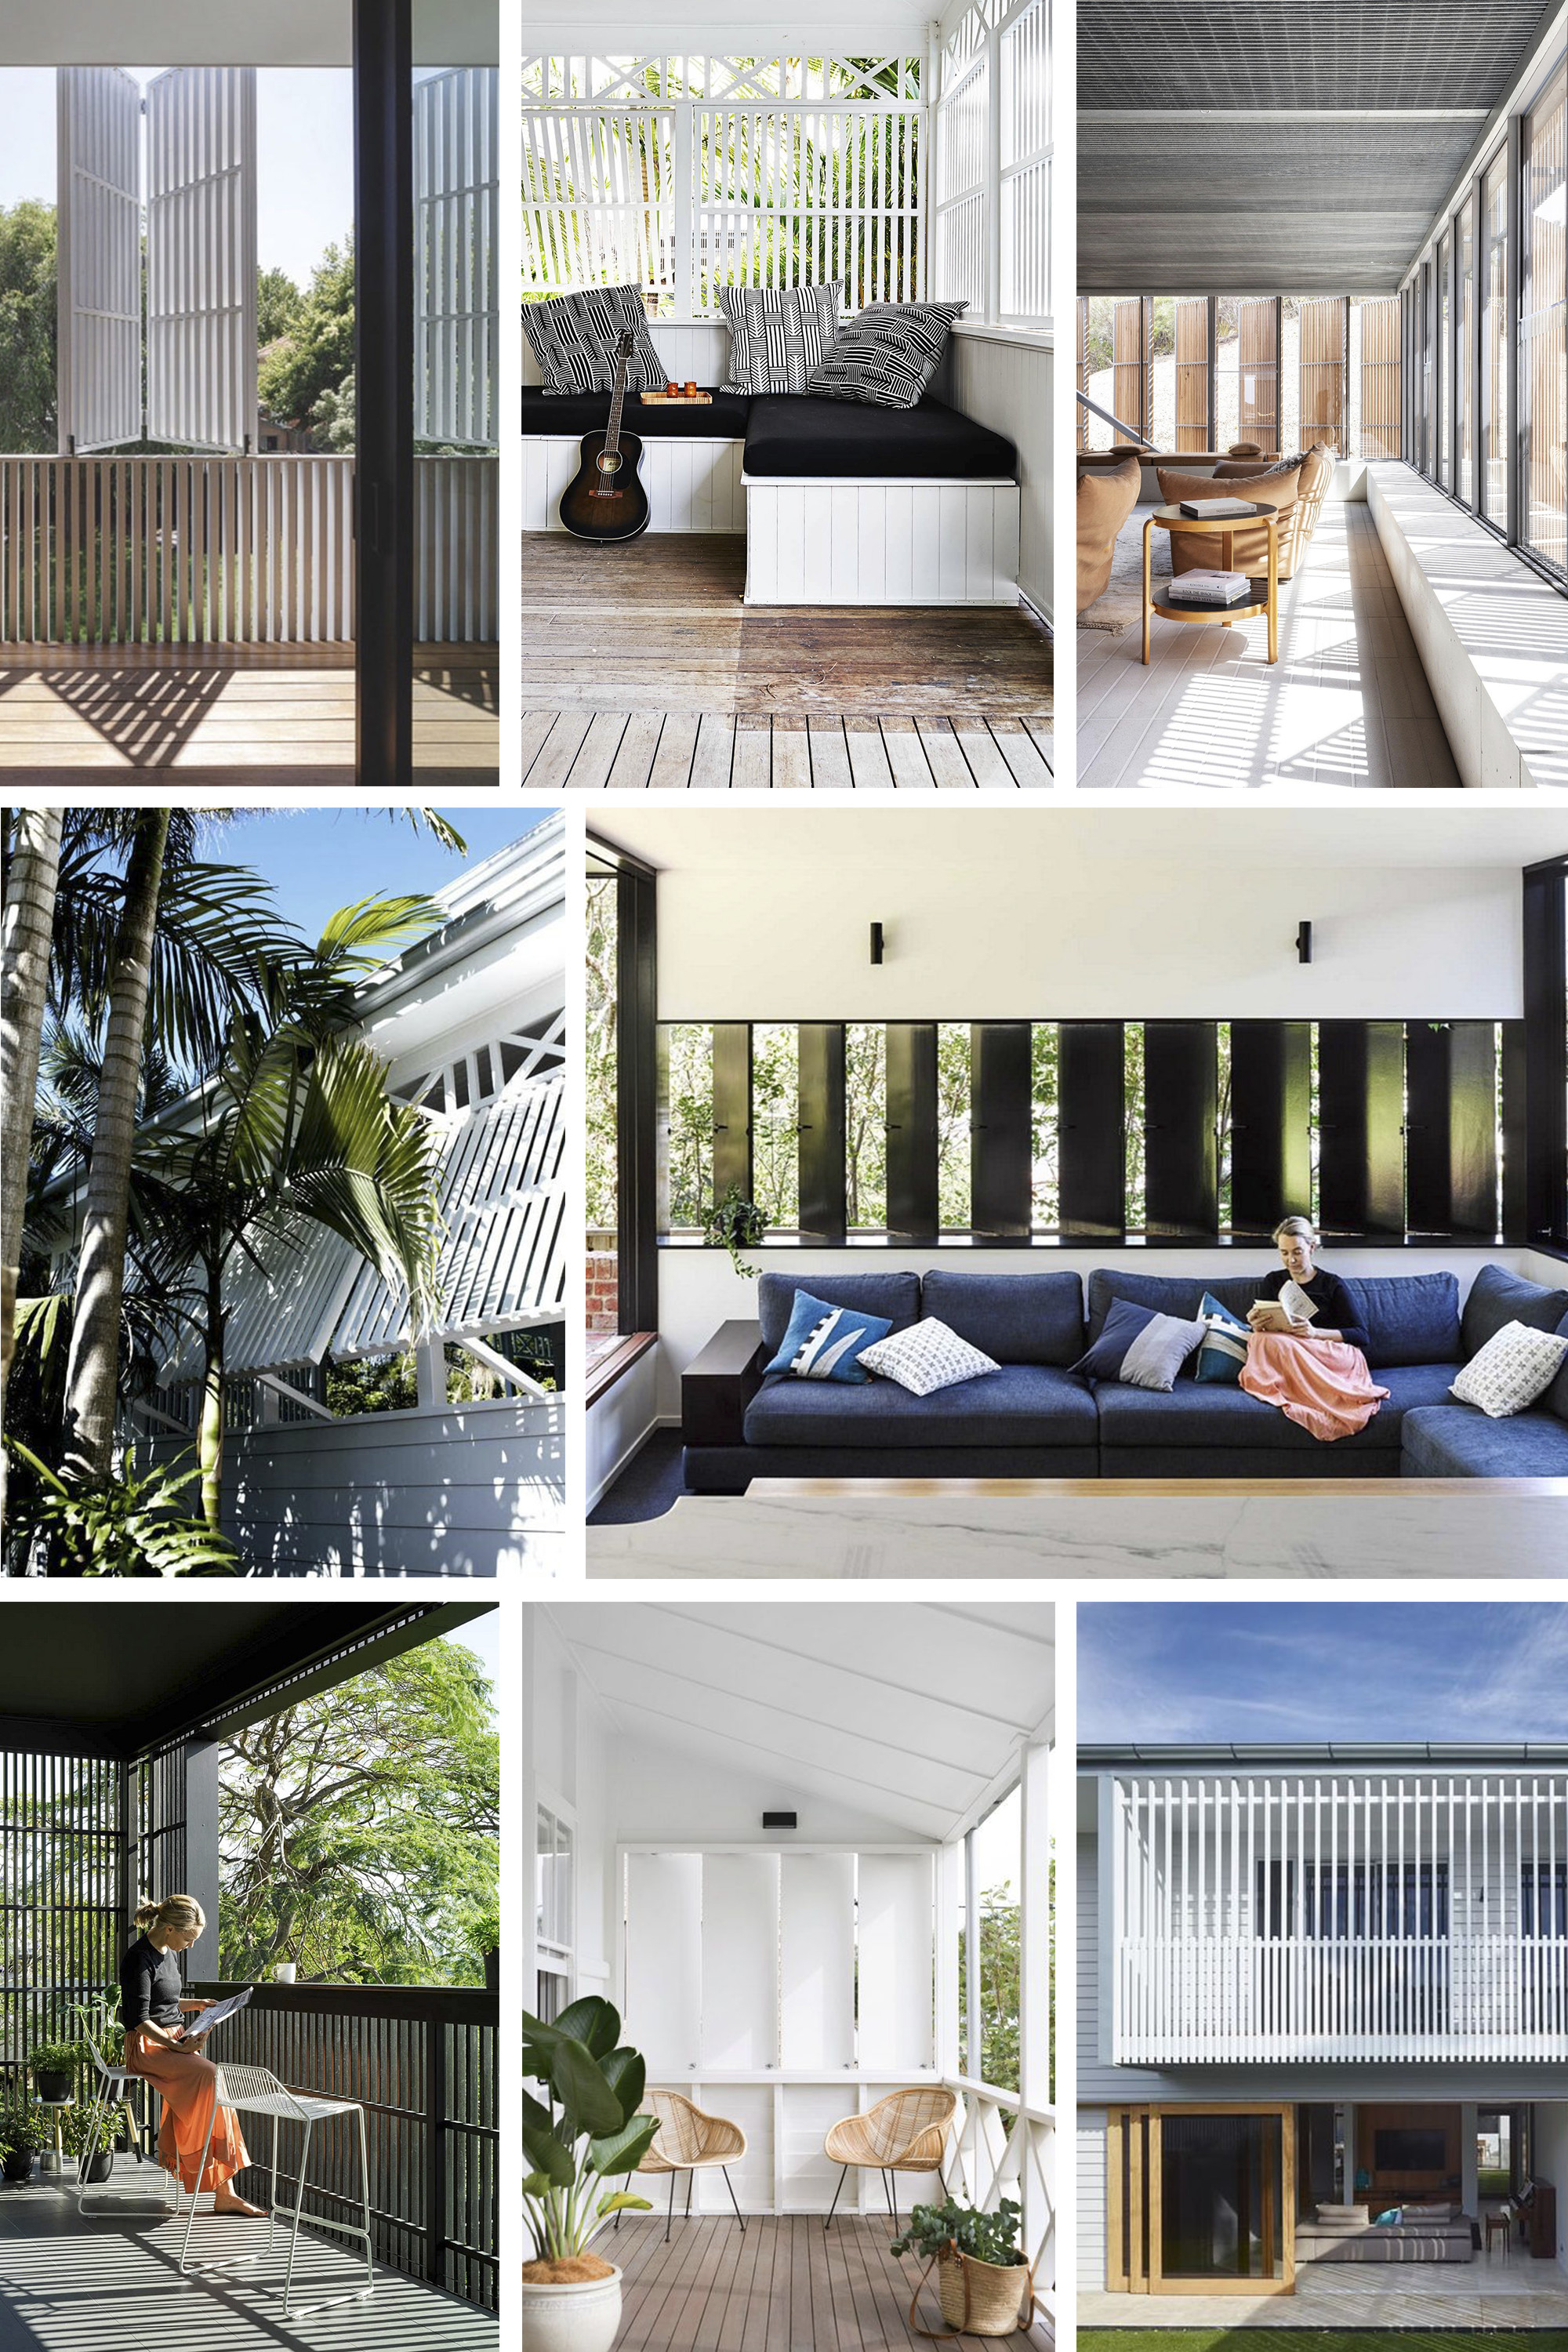
1. Full Coverage Pop Out Panels

I love this panel detail, and it’s a look we’ve used downstairs in our studio (coming soon!). You’ll also remember we did it for the window in the wardrobe in the bedroom. I think this would look great and keep out the hot sun, but at the same time it doesn’t offer that through breeze and security (unless these are fully closed). So there are pros and cons to this one!

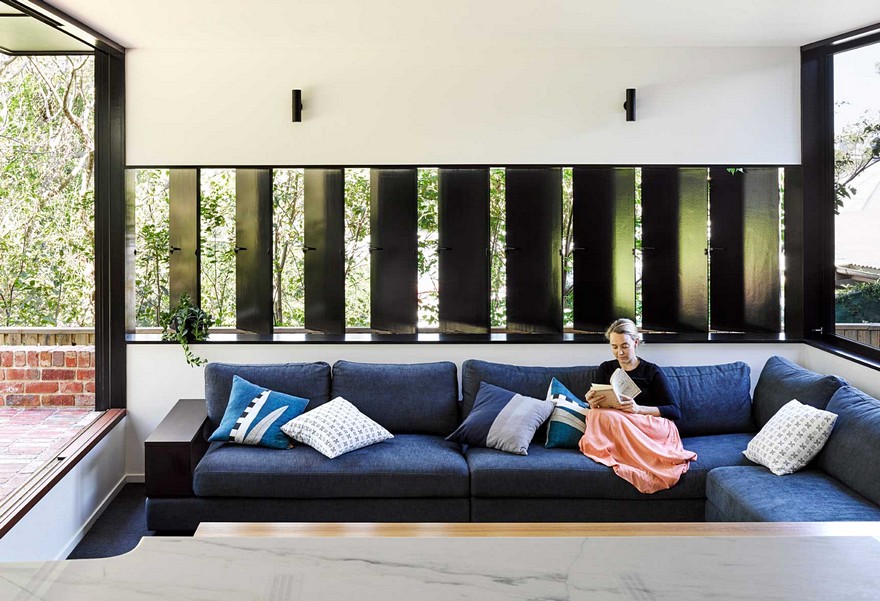
2. Tilt Up Slatted Panels

This is really gorgeous and I love this look. I like that you can keep them open for a more expansive view, or closed for more privacy and security, whilst keeping that essential through breeze. Ours would be white so quite similar to this first image. This idea does require a bit more design in terms of how you lift and lower them, particularly if you want to be able to open them all the way up.

3. Bi-fold slatted panels

This is a similar idea to the lift up ones, but you can fold the windows all the way back. I like this but it does require a track on the existing banister, and when folded back they tend to take up a but of space at either end.

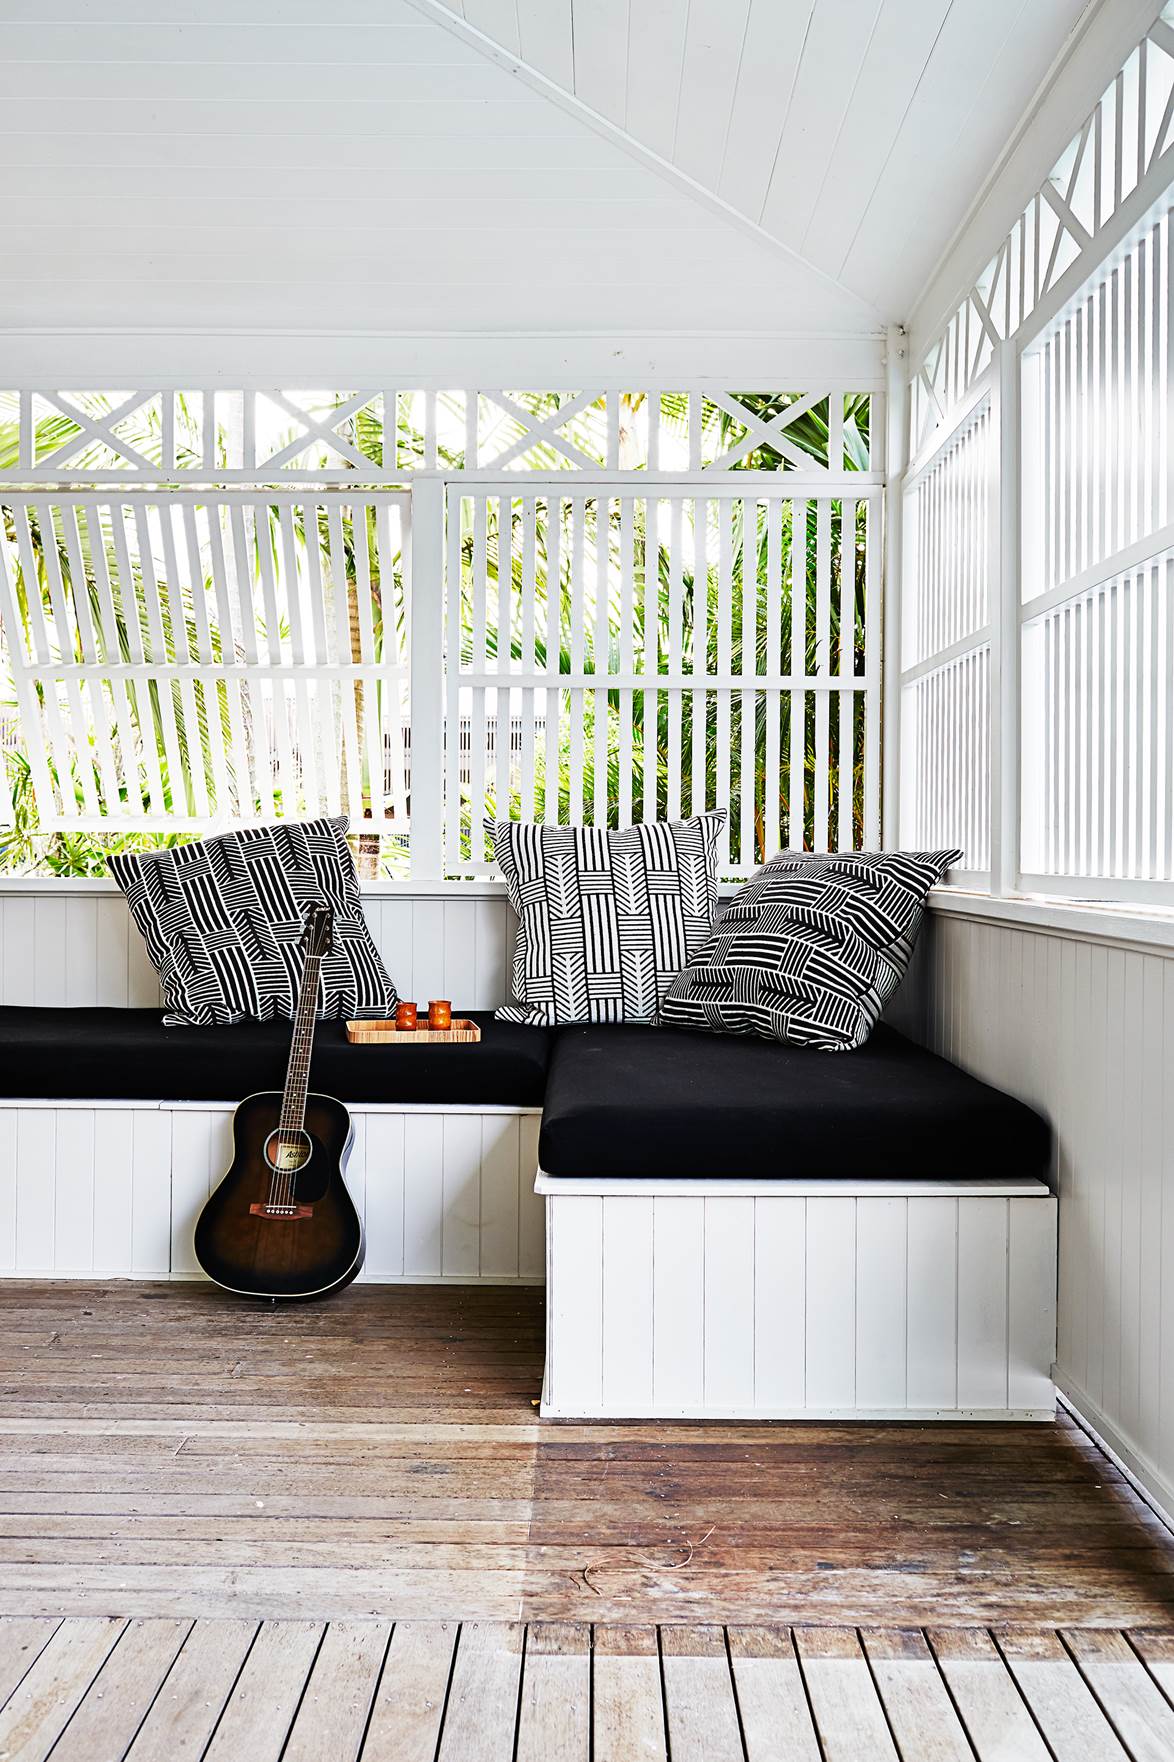
4. Pop Out Slatted Panels

The final option! A pop out slatted panel. This one would be easier because we wouldn’t need a track, and when you fold them out there’s more of a feeling of open-ness than the bi-fold option. Obviously we would be looking to watch the existing balustrade and have white slats so it feels nice and cohesive. But you get the drift!

To make matters even more complicated, we’re also considering building in the front deck in a similar way, to create more of a private space. Stay tuned on that too! And if I thought that there was even an end to a renovation, I’m quickly realising there definitely isn’t!

Love to hear what you think!

Inspiration imagery thanks to: The Design Files, Take Over Time, Homes To Love, Home World Design, Kieron Gait, Vokes and Peters, The Local Project.

The post Considering a back veranda update… appeared first on A Pair & A Spare.


from A Pair & A Spare http://bit.ly/2JSrtlO
via IFTTT

Know us

Our Team

Tags

Video of the Day

Contact us

Имя

Электронная почта *

Сообщение *